Cheese, bacon, and potato goodness.

When it comes to potatoes, there is nothing I love more than twice baked potatoes.
They are rich. They are cheesy. They are a little taste of perfection…
They are a PAIN to make. Thus, they are a special and rare treat.
But that ended last week with the discovery of this recipe. All of the rich, cheesy goodness, half the work.
I predict that I will make this many more times.
Twice Baked Potato Casserole
6 medium potatoes
1 cup buttermilk
3/4 cup sour cream
1/4 cup butter
5 pieces cooked bacon (crumbled)
1/2 cup finely chopped green onion
1/2 cup cheese (cubes)
3/4 cup cheese shredded
1 1/2 teaspoon salt
1 teaspoon pepper
Coat 6 medium potatoes in olive oil and pierce with fork. Bake in oven for 1 hour at 400 degrees.
Pull out the potatoes, turn the oven down to 375, and let the potatoes cool until you are able to handle them.
Put them in a food processor, along with the buttermilk, sour cream, salt, pepper, and butter. (My food processor is too small to hold the whole batch, so I have to blend half in one round and half in another.)
Place in a bowl and fold in bacon, green onion, cubed cheese and 1/4 cup of the shredded cheese.
Use a spatula to transfer the mixture into a greased baking dish (I use 1-1/2 qt corningware).

Hand the spatula to your helper.

 Sprinkle remaining shredded cheese on top. Bake at 375 for 30 minutes.
Personally, I serve this up with some veggies and it makes a satisfying main dish.  This would also make a great side dish to bring to a potluck.
Time saving tip: Choose to make BLTs or have a breakfast dinner earlier in the week. When you do, cook up the whole package of bacon. Put the leftover in the fridge for use in twice baked potato casserole and save the fat for cooking.

I’m hungry.

Does 6:30pm ever roll around and you haven’t started dinner yet? And of course, your child (or somebody acting like a child) is loudly vocalizing their desire that you cook them dinner?
This never happens to you? No? I should be probably be reading your blog, because you are clearly better at life than I am.
If you are like me, I would recommend this as a quick meal that uses basic staples that you will likely already have around your kitchen.
Potato pancakes
You will need:
6 medium potatoes
1 small onion
3 eggs
2 medium carrots
Salt & Pepper
Grate the carrots and potatoes. Chop the onion. 
Mix these ingredients and the eggs together. Add salt and pepper.
Fry in your preferred oil on medium high heat. Be sure to preheat the oil. If you put the pancakes in less than hot oil, it will absorb it and become greasy. I had some bacon schmalz around, so I used that. Coconut oil also works beautifully. 
I also fried up some zucchini for Gilbert.
 Put on plate and enjoy. 
I went from zero dinner to a tasty meal on the table in about 30 minutes.  I’m feeling pretty good about it.  You will feel good about it too.

Wishing for winter

It has been one of those days where life just doesn’t slow down even when I want it to. After working a longer than usual day, taking a surprise trip to the vet (poor Stella) with Gilbert in tow, going grocery shopping, and making dinner, I am just plain tired.
When blogging, I have found that it would be very easy only to tell people about the good “super woman” days. But that just isn’t always reality and I decided at the outset that you guys get to hear about the less than great days too. Today was one of those.
With all the work that comes with summer, I find myself wishing for winter.
Don’t get me wrong, summer is wonderful in its own way. I love the fresh fruit right off the trees, the lettuce from the garden, the barbequing, and the evenings spent just enjoying the sunset.  But towards the end of July, I’m ready for it to be done.
I have frozen peaches.
 I have made apricot jam.
(and by “jam” I mean syrup)
I have canned cherries. I have dehydrated peaches, cherries, and apricots.
I have worked hard.
So just for tonight, I’m going to turn down my air conditioner, put on a sweatshirt, make myself a cup of hot chocolate with a candy cane stir stick, and watch a Christmas movie.  Basically I’m going to live in denial that it is July.
Canning peaches, baking zucchini bread, making an actual batch of apricot jam, searching for bulk blueberries, finishing a real blog post about sugar, and canning the last few cherries will have to wait.
P.S. I accidentally uploaded a picture of Gilbert with this post and I can’t figure out how to delete it.  I’m not a fan of waste, so here you go:
 

Pineapple Shish Kebabs and buttered rice

I have a batch of apricot jam cooling, peaches in the dehydrator, a belly full of food, a sink full of dirty dishes, and a cup of hot earl grey tea. So, let me tell you about what I ate for dinner.  It made my taste buds happy.
Pineapple Shish Kebabs and buttered rice
You will need:
6 skewers
1 chicken breast (cubed)
1 red/orange or yellow bell pepper
12 medium button mushrooms
1 small onion
1 zucchini
1 can pineapple chunks (fresh is better if you have it available)
1/3 cup honey
1/3 cup Soy Sauce
3 cups cooked rice
Butter
The night before you make these, you need to start marinading the chicken. The marinade is really basic. In a zip lock bag combine:
Chicken
1/3 cup soy sauce
1/3 cup honey
1/3 cup olive oil
Salt & Pepper
Pop that in the fridge (press all the extra air out of the bag) and leave it there to marinade until you are ready to make the kebabs.
When you are ready to make them, dice up the pepper, onion, and zucchini into 1 – 1 ½ inch chunks.
Admit it… you’re admiring the paper plate.

Slide pineapple, mushrooms, chicken and dice veggies onto skewers. Place in pan and drizzle left over marinade over the top.

Bake at 375 for 20 minutes. Or grill up on the bbq until the chicken and veggies are tender.
Serve on top of a bed of rice.  Be sure to drizzle the extra juice from the pan onto your rice. 
I took one quick picture and then ate it all (and went back for seconds).
I like to use basmati rice and soak it in advance (although you rice experts out there will notice from the picture that today I used plain old white rice). For rice that goes well with these kebabs, I cook my rice in half beef stock, half water. I throw in thyme, garlic cloves, and a bit of paprika.   After it is done, I put in a few pats of butter and fluff it.  
And then I put in on my plate and add a little more butter.  Kerrygold may be my soulmate.  Sorry Abe.

A sweet moment

I was going to do an informational post about alternative (to white cane sugar) sweeteners with an aside about how much I detest having to maintain decorative landscaping, but then I changed my mind.
Why? Because I was reminded how thankful I am when I turned around from making tacos and saw that Gilbert had helped himself to a peach.
 
He was so into the peach, he did not even drop what he was doing to go after the camera…

He finished the whole thing.

One peach down, 75 more pounds to go.  Thanks you Gilbert.  I promise I’ll post on my exploration of alternative sweeteners later… 

Have you met Ted? Also, Stella.

I have been remiss and have not introduced you to two members of our family.
Meet Ted & Stella.
(source)
Ted is a miniature poodle.  He was born a grumpy old man. Ted has been with Abe longer than I have. For all his faults, and there are many, he has been good with Gilbert. He is a very picky eater and he screams anytime we get in and out of the car with him. He has developed a fondness for Stella that he likes to express in an awkward way.
Seriously, Ted… quit doing that in front of guests and small children. That belongs in the privacy of your kennel.
Stella is the newest member to join our family. She is my dog. We rescued her in May from the Wenatchee Humane Society. We are still working on remedial potty training and basic commands, but what she lacks in bowel control and obedience, she makes up for with her good nature.
I mean look at this face.
Stella – the frenchie pug, aka “Frug”
Even though I really wanted a big dog, I knew she was the right dog the first day we got her. Gilbert was running, tripped, and fell on top of her. He fell hard enough to actually bounce off her back. She reacted like that was the best thing that ever happened to her and she wanted more. After our recent experience with adopting a dog who bit Gilbert without warning (emergency room trips stink) and had to be returned to the Humane Society, this little incident with Stella gave me great peace of mind.

(source)

 Now you have met all the residents on our homestead.  Feel better?  I do.  I will sleep better now.

P.S. Please note that the dog we returned, Lucas, found a good home. We kept checking up on him, because we didn’t want one poor moment in a new home to mean he didn’t get a second chance. The Humane Society was truly wonderful with handling the situation. He was placed in a foster home for observation and training and eventually he was adopted by a bachelor with no kids.

Stuffed Bell Peppers

Lately I have been trying to be better about meal planning. I find that when I plan and do the shopping, we eat healthier and we spend less money.
Abe is adventurous with trying to make new foods. I am a creature of habit. If Abe didn’t give me the extra nudge, I would probably continue to make the same foods I always have… you know, the kind you have made so many times that you don’t need a recipe?
While I would love to say that all my attempts are successful, they are not. This week I found a winner. I didn’t use a recipe, but I have seen similar recipes before that looked forgiving. I wrote what I did down, so I could share it will all of you… if it turned out… which it did. Yay.
Stuffed Bell Peppers
Yields 8 stuffed peppers
You will need:
8 bell peppers
1 roll of mild italian sausage
1 1/3 cups couscous
1 can seasoned, stewed tomatoes
2 cups grated cheddar cheese
1 large yellow onion – diced
Step 1: In a large sauce pan, caramelize the onions and brown the sausage on medium high heat. Be sure to break up sausage into small chunks.
Step 2: While the onion and sausage are browning, bring two cups of water and a pinch of salt to a boil. Stir in couscous, cover and remove from heat. Let sit five minutes and fluff with fork. 
Step 3: Once the onion and sausage are cooked, add in the stewed tomatoes and couscous. Stir together and turn off burner.
Step 4: Top the bell peppers, clean out the seeds and spoon in a generous amount of the filling.
Sprinkle the cheese on top (or, if you are feeling lazy, just put a slice on top).  When you are ready, bake for 30 minutes at 375. If they have been in the fridge, you might give it a few minutes longer. 

 These were easy and a big hit.  Gilbert ate the filling by the fistful.

Breaking ground

Remember all the grand plans I had for the garden this year?

In our new house, we started with a blank slate of lawn in our backyard.  No garden plot, no fruit trees. It was just the lawn, a poorly placed forsythia, and two rose bushes.  I use the term “lawn” loosely.  It is crab grass, several varieties of ground cover flowers, one variety of tall ornamental grass, plenty of weeds, and at least three varieties of “regular” grass.  Fixing that is a project for another year… it is probably a “nuke and pave” situation.

The goal was to put in a functional, maintainable (and budget-friendly) garden this year, which we can expand in future years.  Everything on the original list was accomplished or, as Abe likes to put it, it was “abe-complished”.

Here was the original list:
1. Build raised beds… check.
2. Fill with dirt… check.
3. Fence in raised beds to keep plants & tools in and baby & dogs out… check.
4. Try planting a topsy turvy planter… check times four.
5. Plant a wide variety of veggies to see what grows best… check.  (I’ll share what I found about our particular garden space and soil in a future post.  It was a learning experience.)
6. Eat, eat, and eat fresh vegetable goodness… check.

To start the garden, I measured our space and drew up a plan.  Then we (*ahem* Abe) built and laid out the raised beds.  Most of the wood was sourced from cull bins at home depot and from leftovers from family.
… then the raised beds were sunken into the ground (slightly), filled with dirt and the fence was started…
And finally we reached the point where we are stopping for the year…

I love being able to go out into the garden to pick a salad for dinner or a vine-ripened tomato for my BLT.  And can I just say that our peppers are looking beautiful?

And the lettuce (which is nearing the end) has produced more than we could eat.  We planted 5 different varieties, but my favorite has been Red Sails.

Isn’t the vibrant color wonderful?

I have been keeping track of our budget and it turns out the most expensive part was the dirt.  It makes me rethink the phrase “dirt cheap”.  I have now learned that good dirt ain’t cheap.

Next year, we will be extending the garden all the way back to the fence. Rooted and delicate plants will grow in the raised beds (parsnips, beets, radishes, carrots, lettuces, spinach, strawberries etc). The zuchinni, yellow squash, cucumber, butternut squash, pumpkin, and corn will be planted in the ground. The topsy turvy planters (planting the bottom and top) turned out to be very successful.  At the moment we have 4, but I might consider a few more next year.   Also, the chicken wire fence should be replaced with something more charming… always planning, always adding to the list… I can’t help it.

Back from my hiatus and ready to jam.

I was all set to commit to blogging regularly, but then life happened (as it always seems to). Abe started a new job working nights as an agriculture inspector. I started a new job as well. I still work for the same company from home, but the new position means a new boss, new team, and more responsibility.
When Abe is working nights and I start work at 6am, we have less than one waking hour together. Spare time has been spent gardening like crazy, working on the house like crazy, and running around after a very active 1 ½ year old (you guessed it) like crazy.
The silver lining of Abe working nights is that I get quiet time after Gilbert goes to bed that I can use to get things done.  I probably should do laundry and sweep the floors, but there are so many things I would rather do with a summer evening.  The crumbs and dog hair that accumulate on the floor on a daily basis (you are welcome for that mental image) will have to wait. 
Why?  I am in full-on food preservation mode.  This is the time of year when it is possible to take the wonderful produce of summer and preserve it for enjoyment all winter.  I can clean the floor later…
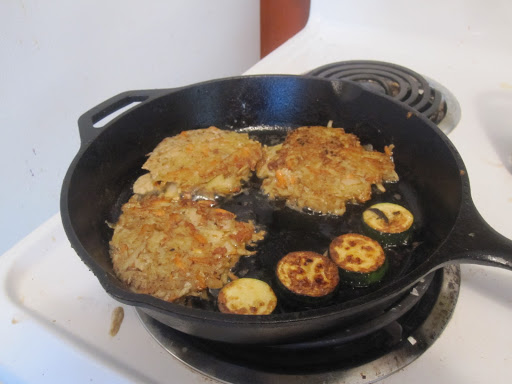
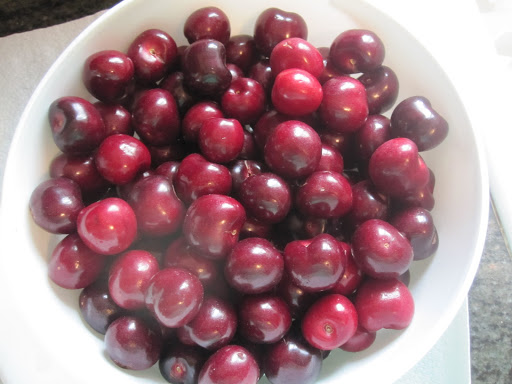
In pursuit of that end, I picked up 20 lbs of Bing cherries for $1/pound from a roadside stand I found on Craigslist. Look at these beauties (and forgive my lack of photography skills):
I have dehydrated, canned, and made jam from them. I’m going to pick up more to make spice cherry syrup. But more on that later…
Today is really about jam. This jam is something my Great Grandma made (or so I’ve been told) and my Dad has a particular weakness for.  It is delicious and hard to find in stores.
Cherry Pineapple Jam
Yields 6 – 8oz jars of jam
You will need:
20oz can of crushed pineapple
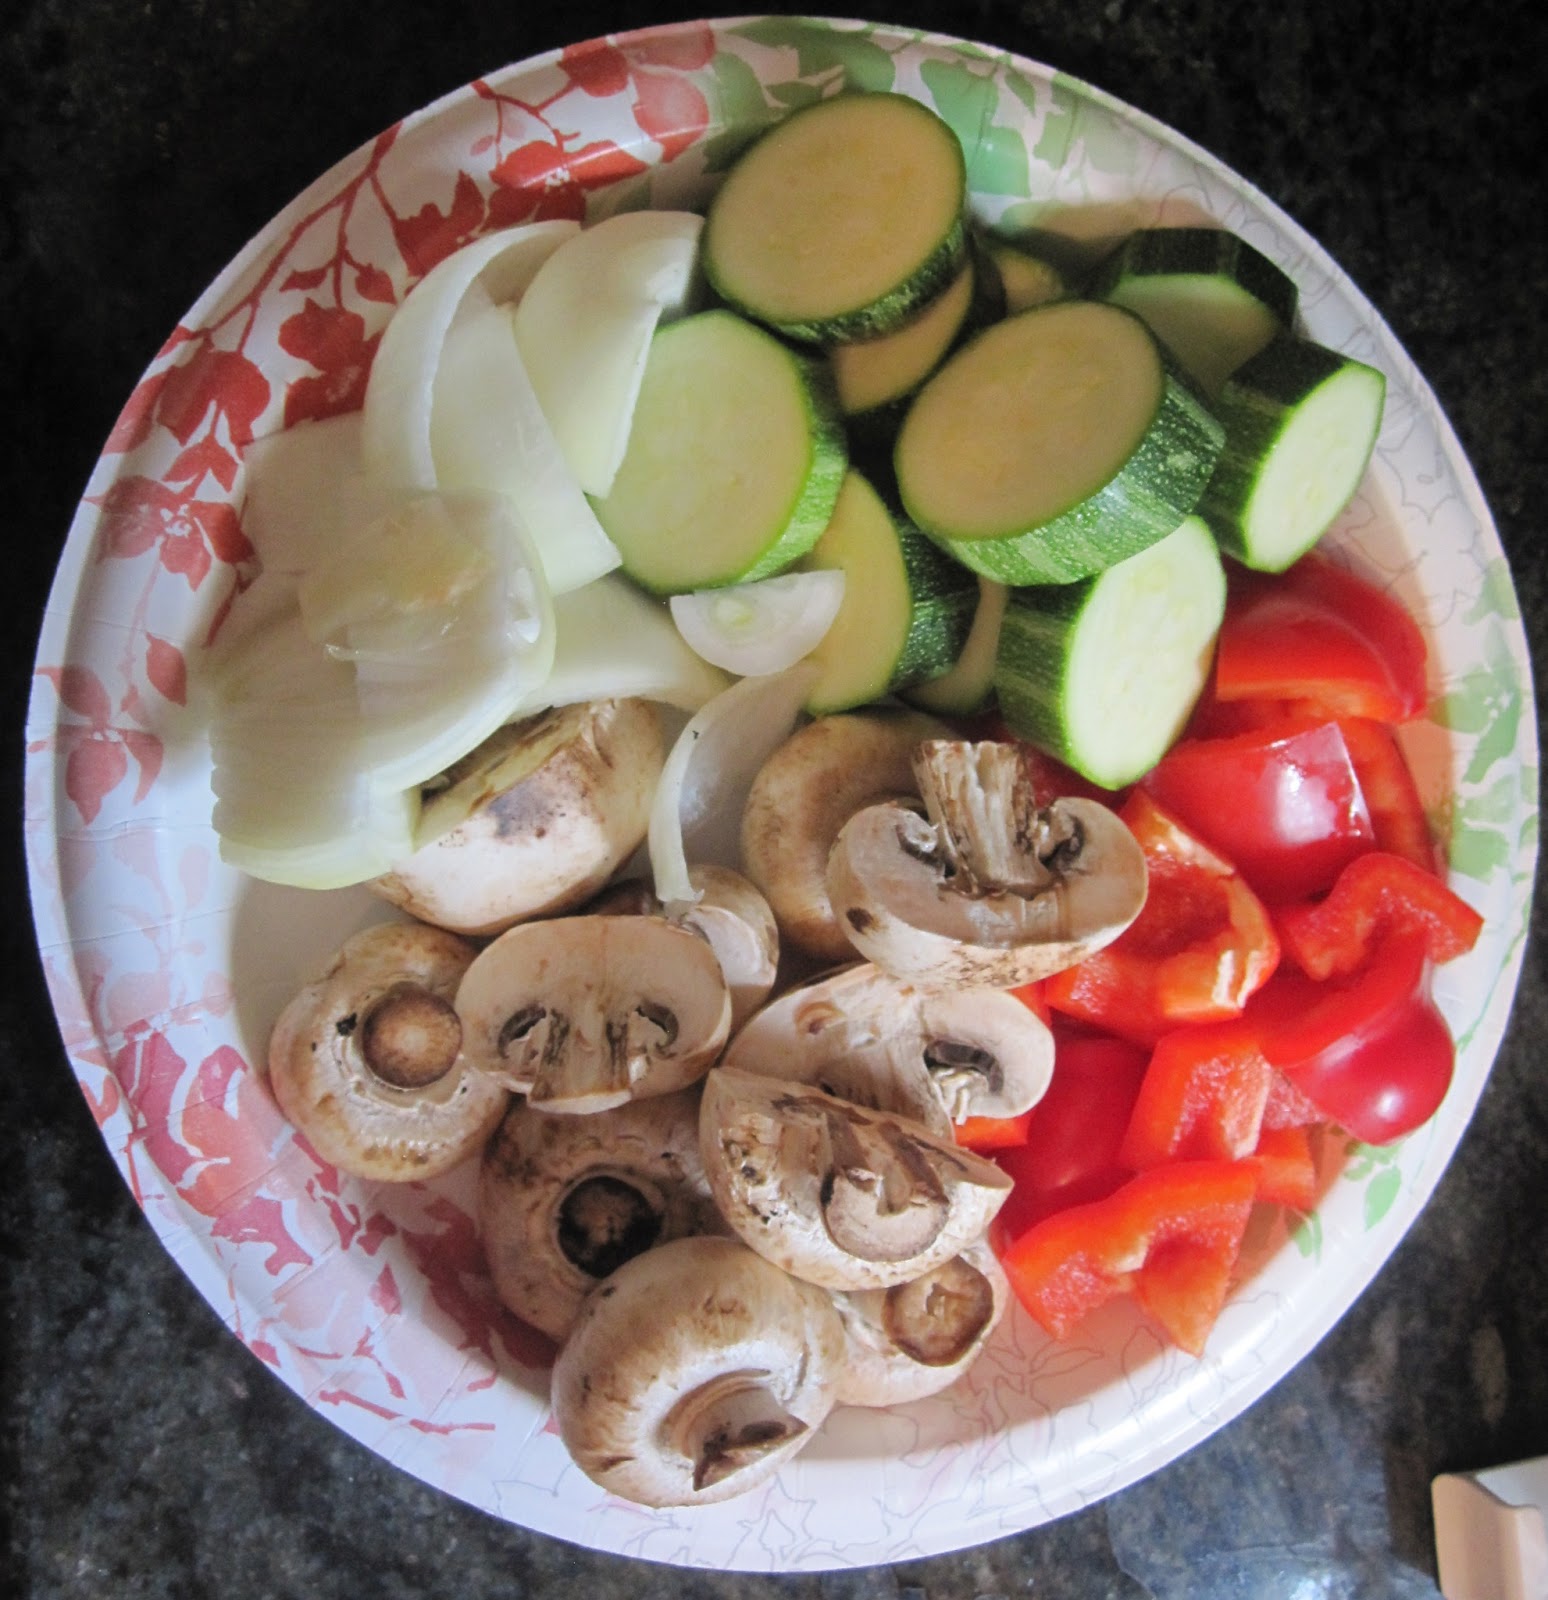
3 cups chopped, pitted sweet cherries (I used bing)
3 tsp lemon juice
6 tbsp pectin
3 cups of sugar (adjusted up if cherries are a bit tart).
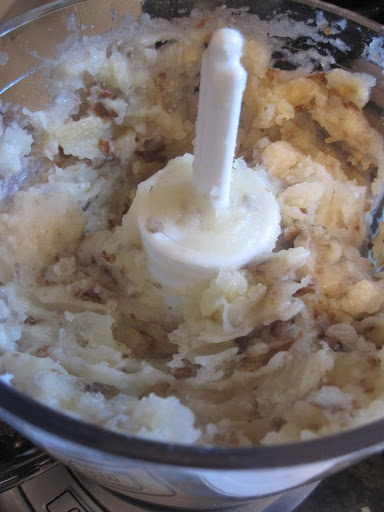
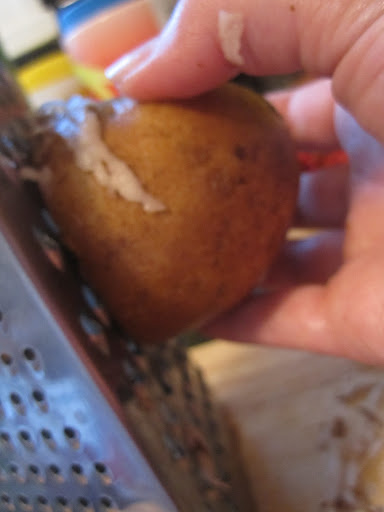
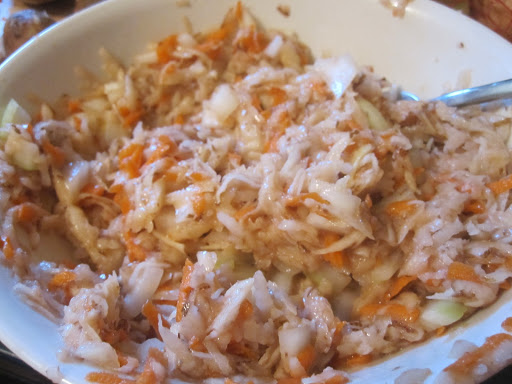
Step 1: Stem, wash, pit, and chop those cherries. These cherries were so big, that my (borrowed) pitter would not consistently pit them. I hand-pitted them and used a food processor to blend the cherries.
Washed and stemmed
Finely chopped in food processor – isn’t the color wonderful?
Step 2: Mix cherries, pineapple, and lemon juice in a pan. Bring slowly to boil, mixing in pectin gradually.
Step 3: Once it is boiling, dump in the sugar. Stir constantly until sugar is incorporated. Let boil for one minute. Then remove from heat.
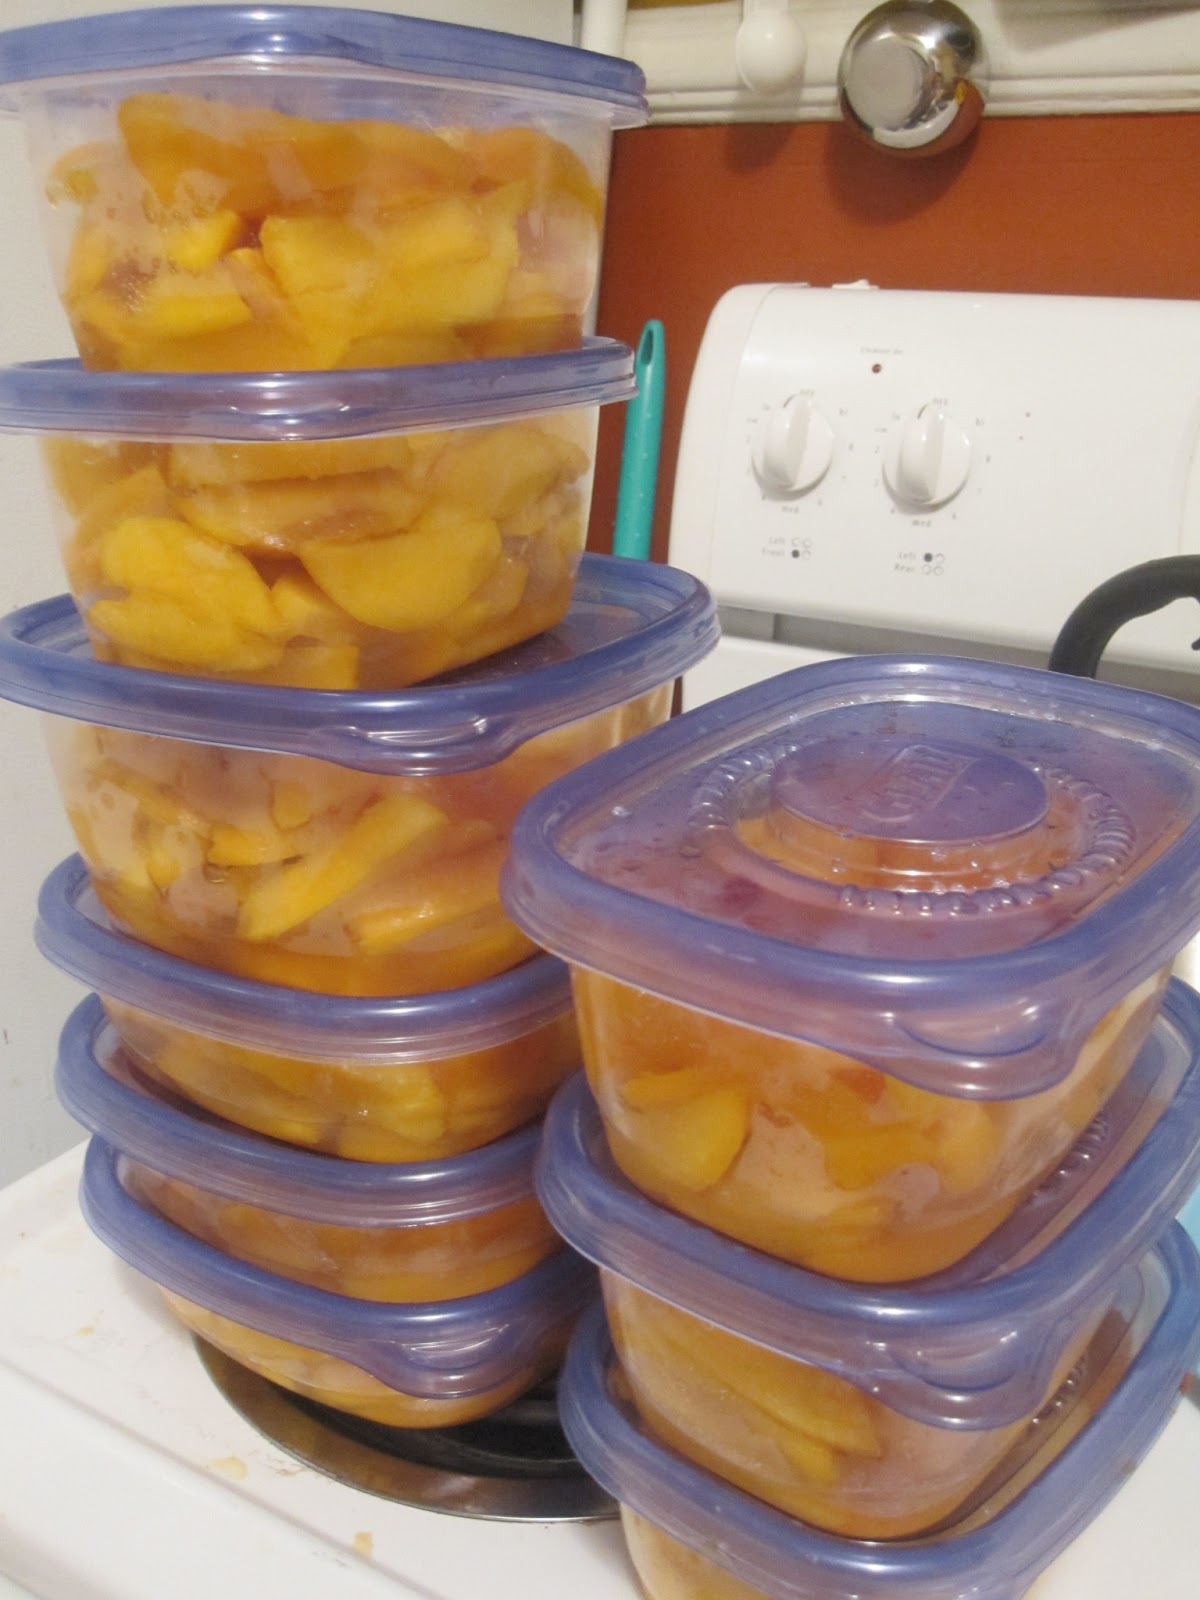
Step 4: For preserving, you have two choices: the traditional canning method or the freezer method. I did both.
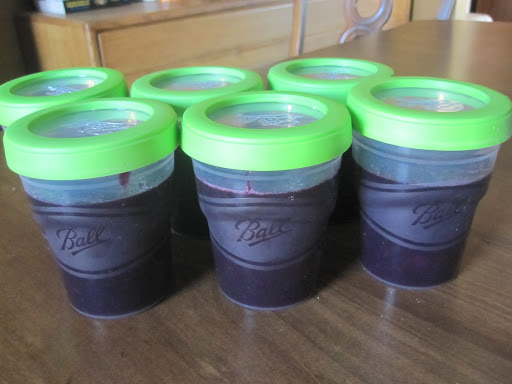
The Freezer Method
Wash your freezer containers thoroughly in hot soapy water. Ladle the jam into the containers, leave on counter to cool with lid off.  You can let them cool up to two hours. Once the jam has set, put the lid on and pop them in the freezer.
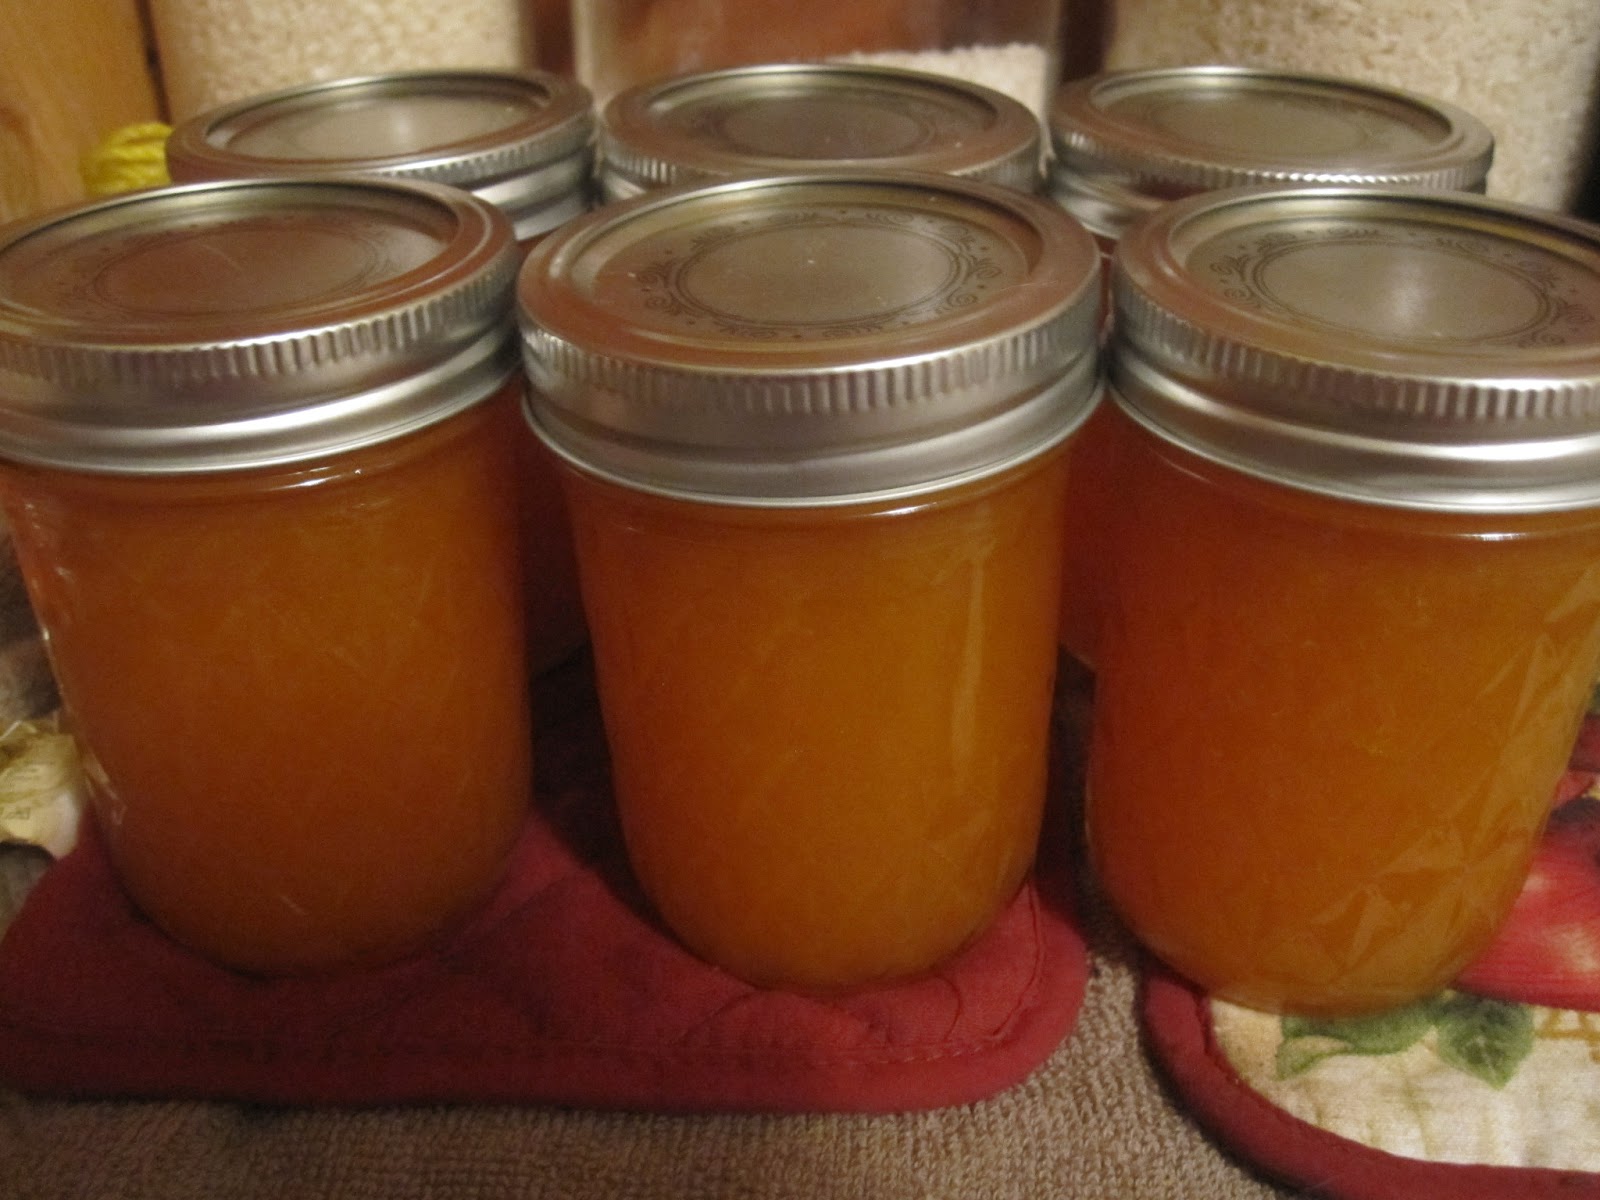
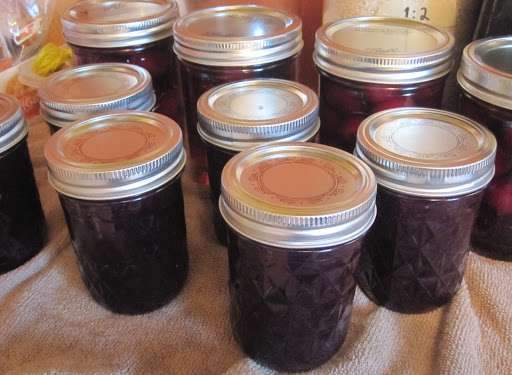
The Traditional Method
Sterilize your jars and lids by boiling them for 10-15 minutes. Take the jars out of the water bath, line them up, and pour the jam in. Wipe the rims with a clean cloth (any debris on the rim could prevent the jar from sealing properly). Place the lid and ring on each jar and tighten.
Place in a water bath with 1-2 inches covering the top of the jars. Bring to boil and boil for 5 minutes. Remove from bath and set aside to cool completely. Try to avoid the temptation to touch them for 24 hours… it’s hard. I know.
A few tips: Start sterilizing the jars before you start combining ingredients and they will be done when the jam is ready to be ladled in. Leave the jar lids in warm water until you are ready to use them. This ensures that they stay as clean as possible and don’t come into contact with a dirty surface before placed on the jars.
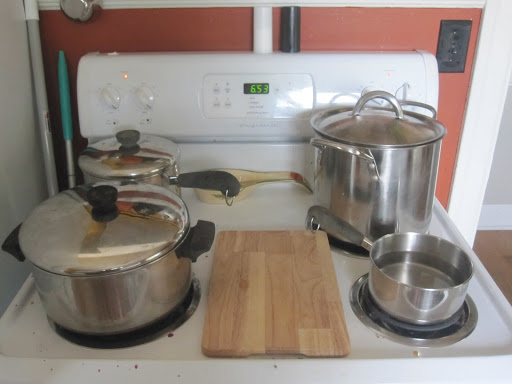
I like to set out everything I need in advance. Here is what my canning setup looks like:
Back left burner – jar sterilization. 
Back right burner – water bath. 
Front right burner – sterilize lids.
 Front Left burner – make jam. 
Middle – fill and cap jars.
There is a semi-traditional method for canning fruit jams known as the “flip method”. It should not be used with any sort of vegetable canning. As far as I know it is not officially recommended by canning companies or the USDA, but I have used it with good results: You can use dry heat to sterilize the jars (ie. the oven at 350 for 10 minutes, but still boil the lids) and then skip the last water bath. Simply ladle the hot jam into the hot jars fresh out of the oven, put the lid on, finger tighten, and then flip the jars. Let them sit overnight until they pop/seal. Personally, I still use a water bath for sterilizing even when I skip the last water bath. 
Glad to be back to blogging and hope to be sharing more with you all again soon!

The complexities of owning a chicken

Abe and I are planning to acquire a few chickens at some point this spring or summer.

In order to have our chicken operation be on the up and up, we need to a) have a coop and b) change our home insurance.  Apparently American Family Insurance will cancel your policy if they find out you have chickens, because they are considered a farm animal.  *Sigh*

It seems odd to me that owning a few chickens would increase the risk of insuring a home, but I’m an not an actuary.  Really… look at these ladies…

(source)

Do they look like a huge liability to you?

If anybody has suggestions regarding insurance companies, I’m still looking into our options.  Your suggestions are most welcome!

I have researched local regulations and found that within city limits, we can have 4 farm animals, small.  We cannot have roosters (and for the sanity of our neighbors, I would not get a rooster anyway).  The coop must sit 10 feet from the property line.

The Coop

While I would love something very cute and artsy like this:

Realistically, we will start out with something more utilitarian like this:

(source)

We don’t need a very large coop, since we are only allowed to have a few chickens. 

My parents have kindly offered us their old dog run as it might convert nicely into a chicken coop.  It is 10×7.  I am still trying to determine if those dimensions will work for the space we have (remember how it has to be 10 ft from the property lines?  This really limits where it can go).  As working with donated items is less expensive, I suspect we will make it work.

Once again, advice is welcome!

The Hens

I want to purchase established hens less than 2 years of age instead of chicks, so I know in advance what I can expect from a particular chicken.  I’m thinking an Ameraucana, a Barred Rock, and a Silkie, maybe? 

Silkies don’t produce as many eggs as the other two, but they are very docile (good for interacting with small children) and funny looking.  I think Gilbert would thoroughly enjoy petting one of these:

(source)

That’s where we are at in the process of acquiring chickens.  I have been surprised, thus far, at the number of things that must be considered (insurance, property boundaries, the definition of farm animal, small etc).

That is where I’m going to leave it for today, since I’m out of time.  My new process is to write the blog post in the evening and then proofread and post it at the end of my lunch break the following day.  I’m thinking 4 posts per week is doable?  We’ll see…