Rustic Potato Soup (Non-Dairy)

Before I launch into this non-dairy recipe, I feel like you should know: I LOVE DAIRY.  Give me milk, cheese, yogurt, ice cream, lattes, and whipped cream.  I want to eat all the dairy.  Not some of the dairy.  All the dairy.

You should also know that I married a fella who is lactose intolerant.  Since he loves me, he will eat the foods containing dairy that I cook and suffer the consequences.

But since I love him, I try to find substitutes when possible that don’t cause the flavor of the dish to suffer.  Which brings me to…

Rustic Potato Soup (dairy free with gluten free optional substitution)

You will need:

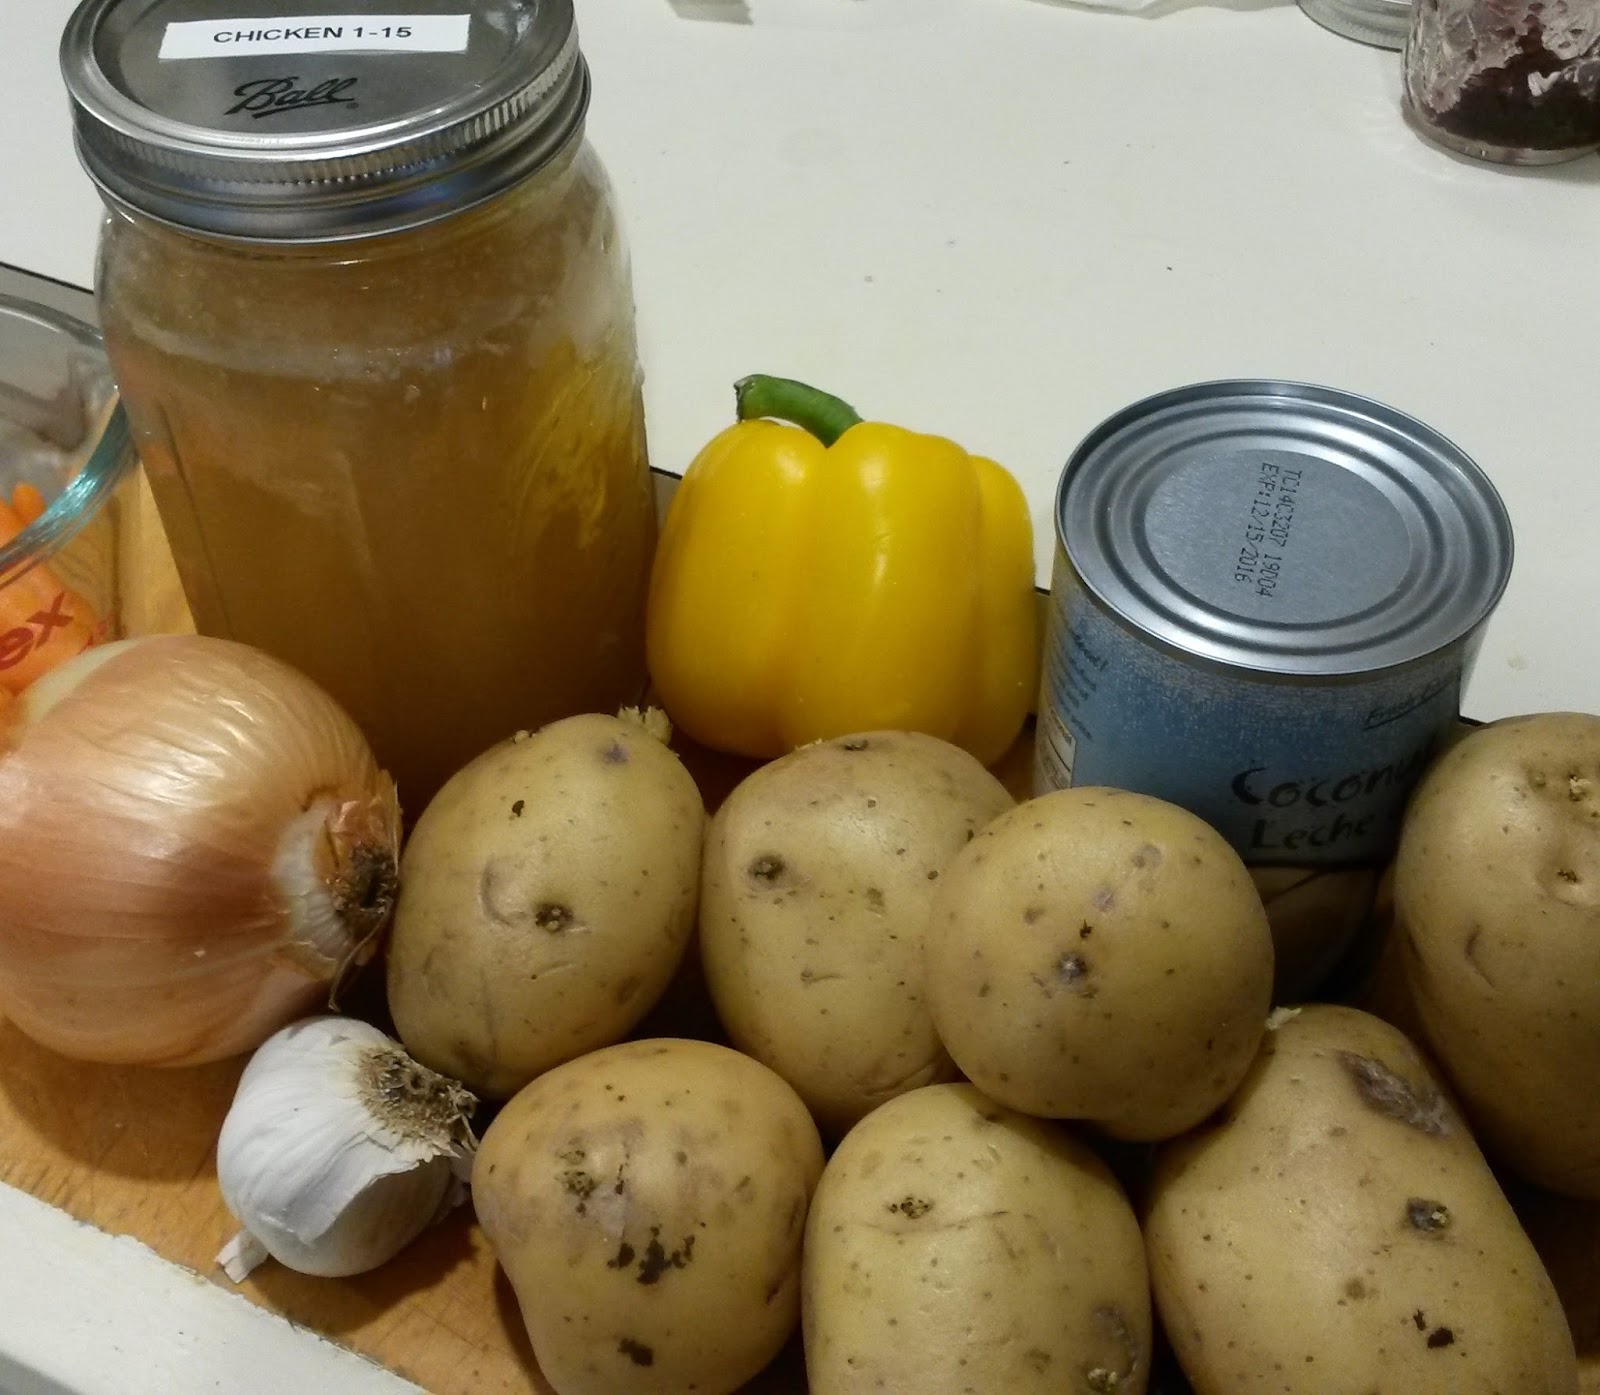
7 medium yukon gold potatoes chopped into 1 – 1 1/2 inch cubes*
3 carrots – chopped
1 yellow bell pepper – chopped
3 celery stalks – chopped
4 cloves garlic – minced
1 medium sweet onion, chopped
7 slices of bacon, cooked and crumbled
8 cups of chicken stock
14 oz (1 can) of coconut milk
3 tbsp flour (or substitute 1 tbsp cornstarch to go gluten free)
2 bay leaves
3 tbsp chopped parsley
Salt, pepper, white pepper, celery salt (to taste)

*(or use baby red potatoes halved or fingerling potatoes or mix and match.  Basically the potato portion needs to add up to to 3 lbs.  Personally I prefer potatoes that do not have to be peeled.  This mama likes to cut down on prep whenever possible.)

1. Cut up bacon and cook in pot until crisp.  Scoop out the bacon and put it aside.  Keep several tablespoons of fat in the pan.

2. Add the celery, onion, carrots, bell pepper, and garlic.  Cook over medium (or lower heat) until the onions are soft.

3. Add potatoes and bay leaves.  Cook for several minutes, stirring regularly.

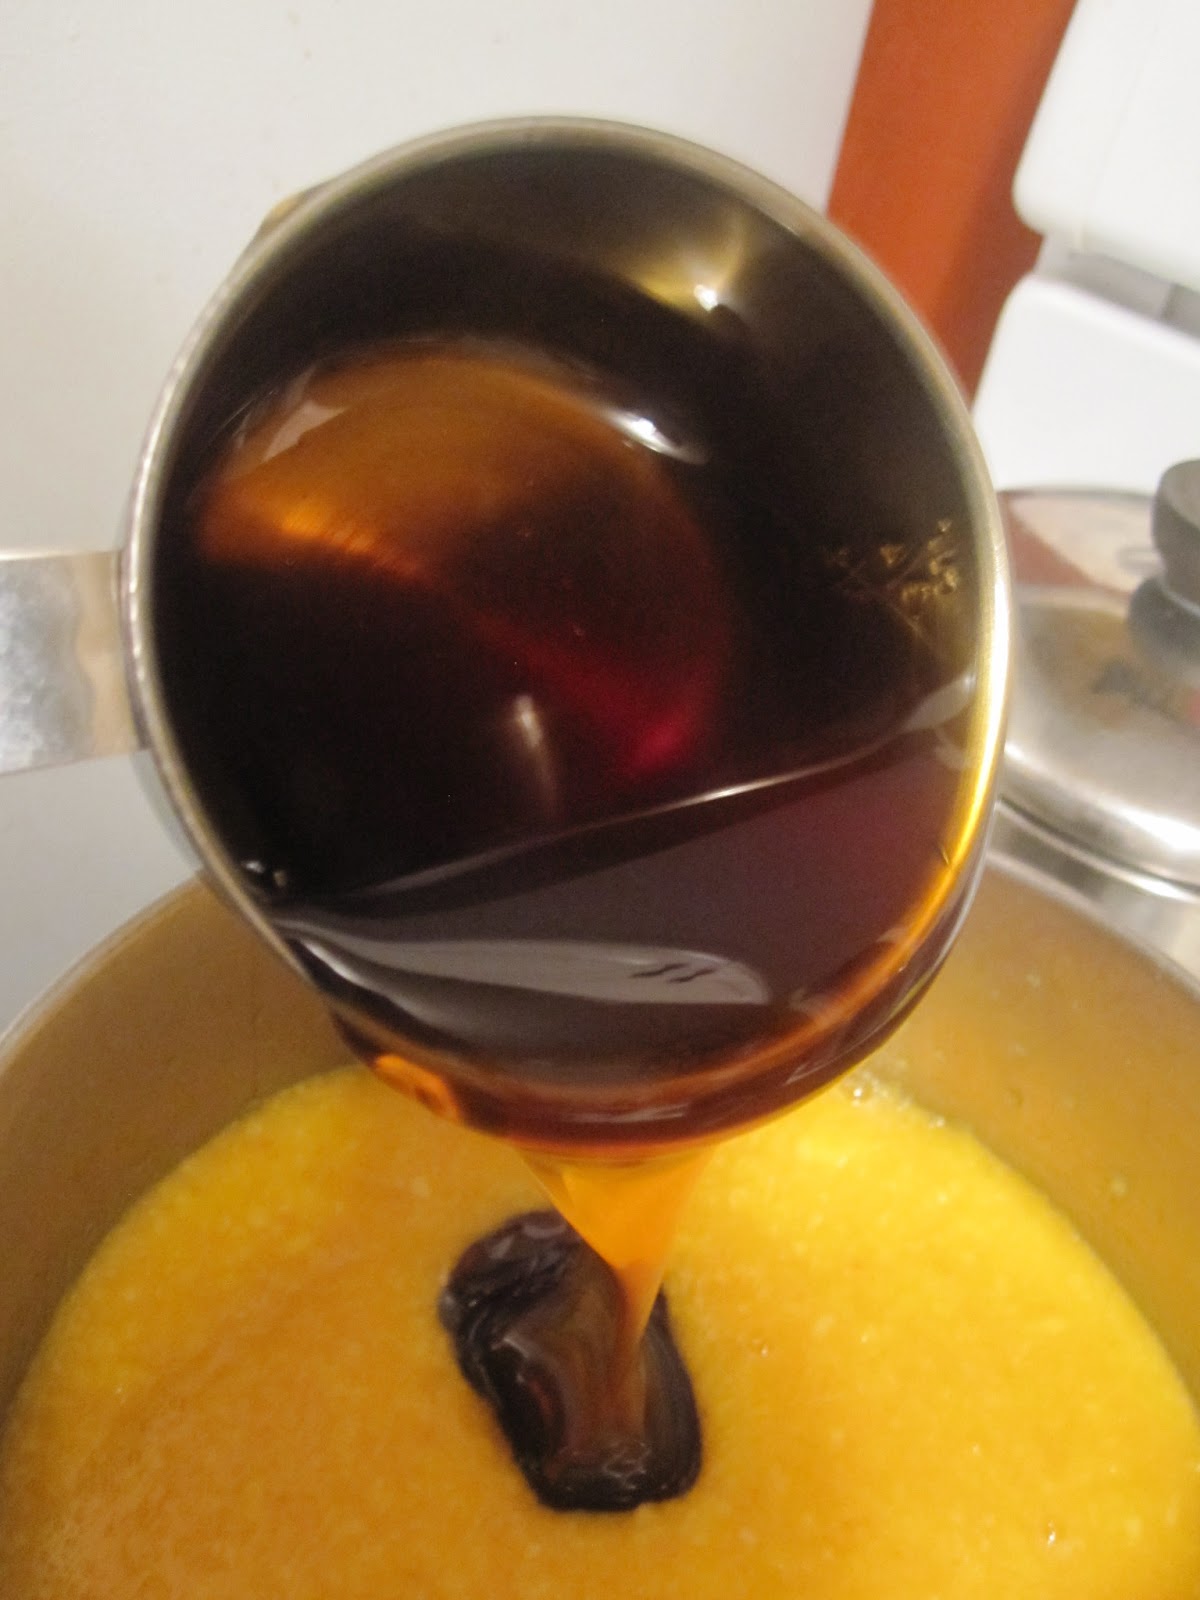
4. Pour in chicken stock and bring to boil.  Cook until potatoes are soft.

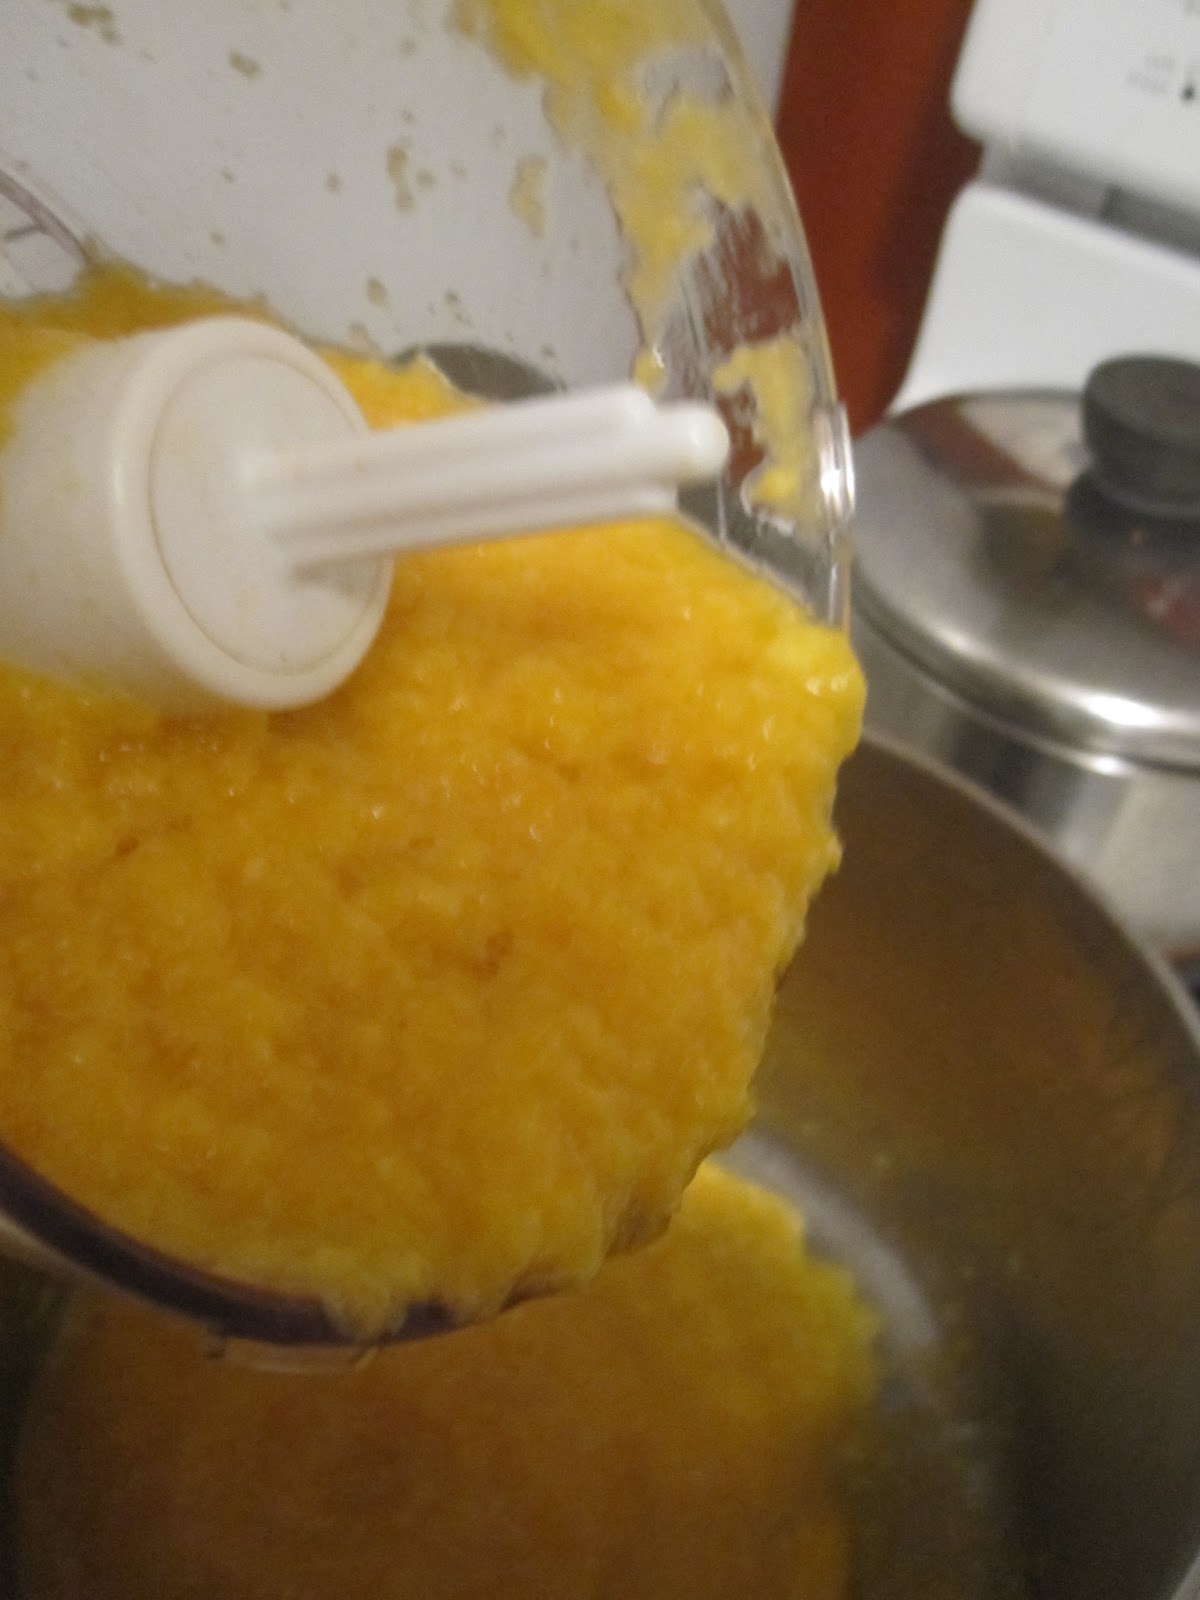
5. Take a potato masher and smoosh the soup together a bit.  The goal here is to thicken up and add good texture to the soup by breaking up some of the potatoes.

6. Mix flour (or cornstarch) with half of the coconut milk until smooth.  Pour into soup.

7.  Add the parsley, coconut milk, and bacon.  Return to boil.

8.  Salt, pepper, and white pepper to taste.  Some folks like their soup spicy, some don’t.  I’m leaving it to you, which you prefer.

Then enjoy.

Keep in mind this recipe is very flexible.  (Important for me since I like to play fast and loose with little things like measuring and including all the ingredients).  Throw in an extra carrot or two, skip the pepper, add a cup of frozen corn… whatever floats your boat.  It will still turn out just fine.

For those of you with a vegan or vegetarian in your life, you can easily make this deliciousness work for them too!  Skip the bacon at the start (use an alternative fat like coconut oil) and use vegetable stock in lieu of chicken stock.  You can always add some facon in at the end to add that bit of flavor.

This will definitely be a repeat item on our menu.

Gdiapers!

Finally!  Both kids are asleep at the same time AND there is an acceptably low level of laundry piled up, so I do not feel guilty about taking time out to blog.

Of course I am going to take this child-free moment to pause and admire “chunky” Charlie.  (Babies are addictive like that.  You crave a minute to yourself and then immediately start missing them when you get that minute)  He’s so darn cute…

And now let’s talk about the cloth diapers.  The ones I was super excited about.  It has been a month and I have to say, so far I’m really happy with cloth diapering.  It really isn’t a big hassle and with many of the types of diapers in my stash there’s little to do in terms of assembly or special washing instructions.

I’m really happy we chose to go cloth, because little Charlie’s skin reacts to everything.  The very first week we had to change wipes because he got a bad rash/hives from the wipes.  Even after we switched, his skin still wasn’t thrilled with the newborn disposables we used.  Once we got him into cloth (after his umbilical cord fell off), his bum seemed much happier.

Now I promised to give my opinion on the diapers we have been using, so my opinion is what you are going to get!

Gdiapers


The diaper system is a three part system.  There is an outer cloth shell “Gpants”, an interior “pouch”, and then the liner is stuffed inside.  The Gdiaper website goes into detail.

The PROs

1. They are a slim fit and pretty darn cute.  No “diaper bum” here!

2. As long as they are assembled, they are very easy to put on.  Velcro makes life for the less dexterous adult or squirmy baby a bit easier.

3. The interchangeable parts allow for only a worn out bit to be replaced.

4. There are disposable liners.  For some folks this may be a pro, but I’m listing it as a pro and a con.

Personally, I would rather not mess with disposable liners and will be happy to purchase some nice Seventh Generation disposables if needed.

5. You can stuff them with liners other than the gdiaper liners.  Their liners can be more expensive than other brands, so it may be that you want to try out a cheaper alternative.  I have used newborn size prefolds, Softbum mini pods, and a few other miscellaneous liners I got used in a box of random diapers.  All worked just fine.

The CONs

1. Unvelcro, unvelcro, Unvelcro, unvelcro. Snap, snap, snap, snap. Stuff.

This is the process you will repeat over and over and OVER to assemble and disassemble for washing.  My husband doesn’t mind this, as the trade off is that the diaper is very easy to put on when squirmy Charlie is on the changing table.  I find this repetitive requirement annoying.

If you are the type of person who manages to carve out time in the evening to knit or crochet while you soak in your favorite TV show, this may be the diaper for you.  That would seem like the time to assemble the diapers.  (Not when your child is diaper-less on the changing table and about to pee on you).

I’m lucky if I get hands free time to do anything.  And when I do have those free hands, they are put to use folding laundry, taking care of animals, doing dishes, or attempting to scrawl out a blog post.  Repetitive activity is just not my style.

2. They are not a one size diaper, so you will need to go up in size and buy more diapers.  We never purchased the newborn sizes and started with small.

Well, Charlie is 1 month old (started out as 8 lbs 3 oz).  As you can see, the smalls don’t quite fit anymore and let me tell ya… they don’t contain the mess even though we can technically get them on.

While I can sell them used and get a bit of money back, I feel like the amount that may be spent on these diapers if you bought a whole stash worth (6 Medium pants go for $79.99 on Amazon and $17.98 for for a six pack of pouches) may not be cost effective when your baby quickly outgrows a size.

3.  Some of the parts seem to wear out more quickly than expected  This can lead to more money spent replacing parts.  Did you notice that the plaid diaper above is already pilling?  That is after just a few washes (as directed).

And take a look at this pouch that started fraying after just one wash…

No other diaper I have tried and will be reviewing has had any part deteriorate this quickly.  In fact, some of them seem downright indestructible.  If we kept going with this system, replacements may be needed, thus increasing the overall cost of diapering.

4.  The gpants stick to everything in the wash!  Seriously. They come out as one tangled blob that you have to then deal with.  Even if you took the time to fasten the diaper or fold the velcro over like a laundry tab, they don’t hold!  They will stick together and to your other diapers.

5.  There are disposable liners.  They are flush-able… sort of.  I tried flushing the liners and our cranky old toilet did not agree with the “flush-able” claim.  Plus, I got poop or pee on my hands pretty much every time I pulled out a liner.  This has not been a problem for other styles of cloth diaper, even the pocket diapers.

 Also, if you use the disposable liners, you will have to purchase more.  One of the appealing aspects of cloth diapering for me is that there are options that minimize the amount of money spent after the initial up-front cost.

At the end of the day, these diapers will probably work well for folks who don’t mind the extra assembly, who prefer to flush the liners, and who may not be doing cloth diapering in pursuit of a more economical diapering option.

Since we have outgrown the smalls, we will not be stocking up on mediums.  I may just sell or gift the materials we have to somebody who grooves well with this system.

Now I think I hear a baby starting to fuss.  So I’m just going to publish this bad boy without a close proof reading.  I live on the edge like that.

Nun’s Puffs

Still waiting on baby and I seem to have nervous energy to spare.  This has sent me on a baking, gardening, and organizing spree.  I must keep busy or go insane.

When I get too tired to be busy, I sit on my porch, sip iced tea in the shade of our giant oak tree, and watch my chickens.

I love my backyard.  I think I’ll go sit there after posting this.  Now to the pastries…

I used to make these tasty, eggy pastries weekly.  I’ve made them so many times that I have the recipe memorized (and am not sure where this version came from originally).  And then, I just stopped making them.  No idea when or why.

Now that I have what feels like an endless supply of eggs from my hens, I think I will go back to making at least one batch each week.  They are so quick and easy that it doesn’t feel like a burden to add them to the weekly routine.

Nun’s Puffs

Ingredients:
1/2 cup butter
1 cup milk
3/4 cup all purpose flour (recommended: organic, unbleached all purpose flour)
12 pinches of your favorite sugar (recommended: Maple sugar.  It’s a unique and tasty flavor, but dehydrated cane sugar or whatever you have in the pantry will be delicious as well.)
1/4 teaspoon salt (optional)

  • Preheat oven to 375
  • Melt butter in pan, then add milk.  Heat until steamy (doesn’t need to be boiling)
  • Mix in flour quickly and stir (still over heat) until a dough ball forms.
  • Remove from heat and let cool for 3-5 minutes.
  • Crack in 4 eggs and stir until the dough/batter is smooth.  
  • Divide equally twelve ways into well-greased muffin pan.  
    • Tip: Grease the top of the pan as well as in the inside of the cups to avoid sticking.
  • Sprinkle a pinch of sugar over the top of each puff.
  • Pop in oven for 30 minutes.
  • Remove and enjoy.  

Eat them plain or rip them open and fill them with your preferred delicious filling.  I like honey and/or almond or peanut butter for a quick breakfast or fresh whipped cream and berries for a nice dessert option.  Or Nutella for anytime!!

Any that you do not eat same day should be stored in the fridge after cooling.  Realistically you will probably want to make two batches if you are hoping they will last more than a day…

A novice prepares to cloth diaper.

I am so ready for baby to get here.  Like today.  Please. Any time now.  Nothing?

Okay… then I guess I’ll have to move on to today’s topic:

We have decided to cloth diaper!

It all started when we received a box of a few cloth diapering materials as a gift.  Before I got my hands on the soft, adorable goods, cloth diapering was not seriously on my radar.  After all, Gilbert was all disposable and seems no worse for it.  He didn’t have diaper rash and he potty trained pretty early on.  I have no complaints that would push me toward cloth.

Then I got my hands on those soft diaper covers and that was all it really took for me to reconsider.  The realization that I spent $300 on diaper genie refills alone with Gilbert didn’t hurt.

Also, cloth diapers are just cute in a way that disposables are not (or at least not the economical disposables).  I mean they come in plaid:

My reasons for going for it are simple:
1) I already had some gifted stuff to get started and even if I didn’t, cloth is cheaper than disposable in the long run even with the initial chunk of change put in up front.  I could crunch the numbers, but other folks have here and here and here.
2) It keeps crap out of the landfill.
3) Less chemical residue on my baby’s tush is one less thing to worry about.
4) You can reuse them with subsequent kiddos or sell the survivors at the end.
5) The cute factor… a diaper has no business being this cute:

Of course the usual deterent came up while decision making: POOP.  Fortunately, Gilbert has already cured me of any concerns about baby poop.  By the time Gil was a week old, I had been pooped on, peed on, and spit up on.  For the first time in my life, I thought well, it wasn’t that much pee he got on me.  I can wear this shirt to the store, right?

Fast forward 3 1/2 years and I now have dogs, chickens, a duck, and bunnies.  Poop is pretty much a day to day fact of life.  I will get poop on my hands sometimes.  It just can’t be avoided.  Disposable or cloth will not change that.

But still I almost turned back.  Why? SO MANY CHOICES.  OVERWHELMING CHOICES.

After reading in the middle of the night (pregnancy insomnia put to good use), I was starting to stress out… pocket diapers, all in ones, pod systems, liners, prefolds, covers, snappis, aplix.

My mind was swimming with brand names like Fuzzibums, Bumgenius, Rumparooz, Kawaii baby, Thirsties, Kissaluvs, Bummis, G diapers, Simply Baby.  Who names these things anyway?

Do I get hemp, cotton, fleece, or microfiber inserts?  How many do I need?

So many questions, so many opinions, no definitive answers.

Just when I was about to turn back, I got a nice dose of deus ex machina.  An old friend actually owns a cloth diapering business.  (Hallelujah.  Somebody who knows what they are doing.  Help me please!)

The wonderful Susan from Buckwheat Bottoms jumped in.  She sorted through the options with me and then set me up with a diaper “stash”.  Between the lovely diapers from Buckwheat Bottoms, the hand me down diapers I already had, and a few I may have impulse bought on ebay (come on… the diaper cover has robots on it.  Robots cannot be resisted), I now have a complete stash.

A nice touch with the stash from BB was the card with washing instructions that I taped up in my laundry room.  Now my husband or anybody who comes over to help out with baby will know what to do.

Here’s the starting line up:


6 Bumgenius newborn all in one Velcro
18 OsoCozy newborn Prefolds
Snappis – 3 count, Size 1
12 Bumgenius elementals onesize, cotton, all in ones
3 Softbums Velcro, onesize, with the snap in inserts, 6 newborn/onesize inserts
3 Bummies onesize covers
1 Rumparooz newborn cover
1 small Thirsties (velcro closure)
4 small fuzzibunz (snap closure)
6 gerber prefolds
2 SimplyCloth (justsimplybaby.com) one size
4 bumgenius one size pocket diapers (with velcro closure)
6 small gpants
12 small gpouches
1 medium gpant
6 medium gpouches
12 M/L/XL gdiaper cloth inserts
40 pack gdiaper disposable small/newborn inserts
32 M/L/XL gdiaper disposable inserts
1 travel wet bag
1 hanging Fuzzibums diaper pail
1 extra diaper pail liner

I’m planning to share my personal impressions and give an up close look at each type of diaper in future blog posts.  I’ll share what worked, what didn’t, and any tips I learn along the way.

Who knows?  Maybe I’ll provide a useful tip that will keep the poo off your hands and pee off your shirt.  You’re welcome in advance.

$13 Nightstand

We bought a new house last November. Getting settled in has been slooooow (understatement of the year).

It has been nearly six months and we still have boxes to unpack. It’s a bit embarrassing when folks come over, but such is life.  My messy house, gaggle of animals, half dressed toddler, and I are a package deal.  Judge me if you must.

Until now, really getting our bedroom in order could wait.  Now it’s necessary.

I need to be able to operate in “zombie mode” in the middle of the night.  I need baby’s bassinet, burp rags, diaper changes, spare jammies, blankets, and bassinet sheets all within a few feet of each other.

The tangled cords, the easily tipped nightstand, the disorganized closet, the pile of clutter on top of the chest of drawers, the mammoth bed frame that I routinely knock myself on… it all must be dealt with.

Today is about the remedy for the thing I refered to as a nightstand, which isn’t really a nightstand.  The previous set up:

Yes folks… that is a TV tray that I got at Goodwill.  It’s versatile, but far from classy.  And kind of a space-waster.

I like the idea of a wall mounted nightstand.  It keeps clutter to a minimum (no drawers) and allows for a sizable garbage can underneath.

My first instinct was to buy a prefab one…

I found beauties like this…

79.99 at  Bed, Bath, and Beyond

And this…

No price listed.,.. so I’m thinking that will cost you.  (source)

And this wonderfully whimsical one….

$145 on Etsy (source)

Seriously.  Somebody should go buy that.  It’s beautiful.

But ouch… that price tag!  I’m a cheap skate and my cheap-skated-ness will not allow me to spend $145 on a side table.

So, the royal we  decided to make it ourselves.  The original plan was to find some nice wood, cut it to the desired size (about TV tray size), sand, stain and mount it with brackets.

We snagged some $6 brackets from IKEA (available here), two for each nightstand.

Then fate saw fit to smile on us and we found a set of beautiful, dark wood TV trays sitting on the curb with a free sign.  FREE, I tell you.

FREE is my favorite price.  It’s why I write it in all caps.

From there assembly was pretty straight forward.

Step 1: Remove the hardware from the table (or watch as your husband does it for you).

Step 2: Attach the brackets to the table with 3/4 inch screws.  (I took a picture of this, but it was less than flattering, so it was deleted).

Step 3: Attach the table to the wall.  Hardware needed here will vary based on where you are mounting it.  If you can hit a stud, that is best.  The position of our bed didn’t allow for that, so we put in pretty burly drywall anchors.

And voila…

Please excuse the hardware organizer and tools on there.  I really phoned in the pictures on this one.  Literally… I used my phone.

Easier than pie.  Simply repeat for the other side of the bed and you are in business.

Not worthy of Better Homes & Gardens, but certainly an upgrade from the folding tray.  Also inexpensive and exactly what we need.

Charlotte, the Pekin Duck

I’m convinced normal people don’t wake up in the morning and think to themselves, you know what?  Today I think I want to get a duck.  And few people have the pioneering adventurous stubborn personality to go do just that without proper planning.

Such a half-baked idea was how we ended up with Charlotte, our chatty Pekin duck.

She made her debut into our family on Easter 2014, complements of the Easter Bunny.  All yellow and fuzzy, she was pretty much impossible to resist.  Gil thinks she is pretty great…

Getting her into the basket was filled with some interesting bumbles that perhaps I can help other future duck owners avoid.

…or you can laugh at me, because you already know all these things…

Since we already had chickens, I thought the process would be a simple two steps:

1. Buy the duck
2. Bring the duck home.

INSTANT DUCKLING JOY!

Um… yeah.  It didn’t go like that.  Here’s a more realistic picture of what happened and what I learned from the experience:

STEP 1: Acquiring the duck (really step one is working out their housing situation, but we already had a brooder left over from our chickens that served the purpose)

The super-wise, always prepared Easter Bunny (okay, it’s me and I’m neither of those things) went to get a duck at the feed store.  The first problem instantly appeared.  They only had “straight run” ducks.  And the employees wouldn’t help the clueless Easter Bunny sex ducklings.

But I was not to be deterred!  So, living in fear of snagging a drake (dangerous to keep in close quarters with hens and not allowed in the city), I hastily pulled up a YouTube video and a detailed diagram of duck genitalia in the store and learned how to sex ducklings.

LESSON 1: Learn to distinguish duckling parts before you go to the store.  You get odd looks asking bystanders if they know how to sex ducklings.  Also, it’s stressful to try mastering the “flip and peek” method with an audience.

LESSON 2:  Some ducklings don’t particularly care for being flipped upside down and having their parts popped out.  The important take away here is that an unhappy drake can hide his parts.

I may have checked Charlotte 3 separate times before determining that she was definitely a girl and not a resistant boy.  That means I flipped her over 3 times.  And once or twice after we got her home. It’s a miracle she still likes people.

Photographic evidence that she does not hate the human race…

Photo Credit: Maureen Armstrong

LESSON 3: Acquiring an older duck will allow you to distinguish between the sexes with greater ease (but they are not as cute).  While ducks make the same sound as ducklings, eventually only female ducks will quack.  Drakes make a deeper, raspier sound.  Also, drakes get a lovely little curl in their tail feathers.

I know what you are thinking.  This is not helpful when looking at ducklings!  Every blog brought these up as ways to tell the difference, but in that moment at the store, I almost felt enraged that this useless information was served up so high in my search results.

So I stood there, more than a little bit frazzled, flipping ducklings upside down and exposing their parts.

STEP 2: Taking the duck home.

After deciding on Charlotte, I paid for her and headed home.  I naïvely thought that would be the only complication.

But I was wrong, of course.  This brings me to my next bit of wisdom…

LESSON 4: Don’t get just one duck or be prepared for handling their companionship needs if you do.

I had read before we got Charlotte that ducks (including, but not limited to Pekins) are happiest in pairs or groups.  I interpreted that to mean that they would survive by themselves, but long term it would be best for them to have companionship.

Well, from my personal experience, the reference materials should have said that ducks will go absolutely insane without a buddy.  They will experience total, complete, absolute panic when left alone.  Charlotte was totally FREAKED OUT!

She left her food and water untouched in the brooder and frantically let out the saddest, loudest peeps.

It was too late at night by the time we established she was not going to calm down to go back and get a second duck, but Charlotte seemed so stressed, we were concerned she might actually die.

Hello self, what did you get yourself into? You do not want to be responsible for the demise of a fuzzy little duckling.

Fortunately, my husband came to the rescue.  At 11 pm at night, after some hasty internet searches on what to do, Abe rushed to a 24 hour store and got a small mirror and a beanie baby.

That’s right… a mirror and a stuffed animal. You see, the duckling will think the mirror is another duck and will calm right down.  The stuffed animal gave her something to snuggle with.

I was skeptical.  Also, desperate.  Lucky for us, the second she saw the mirror, the lamenting stopped and she snuggled right up against it with the stuffed animals.

Now she sticks to our chickens like glue.  She loves them.

If there’s one thing I can count on, it is that things never go exactly to plan around here, but eventually everything turns out just fine.  At least it has so far…

The second time around…

Baby #2 is due this spring!  April 30th to be exact, but I’m hoping that an earlier appearance is in the cards.

I am scurrying around and planning for the new arrival.  I make list after list and check things off.

We have been cleaning out the nursery, arranging our bedroom to make late night feedings/diaper changes easier, ordering cloth diapers, sorting through old baby clothes, reviewing the stuff that’s good to know for labor, and attempting to declutter.  We are building coops and hutches, making home repairs, planning freezer meals, and planting our garden.

I feel prepared!

But in all the preparation, I can’t help but think how different this second time is from the first.

Life has changed so much in just a few years since Gilbert was born!  Let’s recall shall we?

He was so tiny and cute. Moving along…

We are blessed to currently live in a good-sized, three bedroom house with plenty of space for kids and critters.

I love stepping into the new baby’s nursery and admiring all the traditionally-expected baby gear, lovingly cleaned and ready.  It’s wonderful!

Yet instead of feeling pure happiness, I find myself struggling with mixed emotions.  I know.  Struggling? Mixed emotions? Not what a gal would expect when life is good.

At first I tried to shake the feeling and chalk it up to the sleep deprivation, Braxton Hicks, and hormones.   But I think I finally put my finger on the cause…

I feel guilty that our experience with this baby will be so different from the experience we had with Gilbert.  I am worried that Gilbert missed out on something that this baby will have.

When we brought Gilbert home, it was to a 750 sq ft, one bedroom apartment in Seattle.  There was no nursery.  There were no baby decorations.   We had no crib, just a bassinet.  No changing table, just a pad.  No dedicated chest of drawers, just a a few plastic drawers re-purposed from my college days.  

Most of what we did have for Gilbert was generously gifted from family and friends.  Seriously… everything from the bassinet to the baby swing, even the diapers/wipes, were all gifts.

We finally got a crib when he was six months old that we narrowly squeezed into the corner of our bedroom…


And when he began to crawl, we carved out a bit of child safe play space…

But that was kind of it.  There was no space, so we managed without many of the customary conveniences new parents purchase.  There was no furious “nesting”  before he arrived.

Thinking about it makes me feel a melancholy kind of guilt.  I know it shouldn’t. I know that stuff is not what matters.  Gilbert was spoiled with attention and love.

And yet I still struggle.  I struggle to accept that having all the “right” gear, the coordinated color schemes, and a themed nursery just weren’t and aren’t important.  They don’t make children feel more or less loved.

At the same time I feel guilt, I also feel thankful.  Thankful that by forgoing a move to a larger apartment at the time and skipping the usual loot, we had very little financial stress and a month to month lease (which proved a saving grace when Abe was laid off when Gil was 5 months old and we chose to move).

So… I feel happy, I feel sad, I feel guilty, I feel prepared, I feel elated for the new addition to come.  Lord, have mercy on my poor husband.  Pregnancy and emotions have eaten my brain.

Curried Chicken Salad

This recipe comes from Nourishing Traditions by Sally Fallon and came to me by way of several different blogs. Like most recipes I make, it is scrawled on a notecard that lives in my recipe box.  Things are crossed out and added.  There are lots of notes in the margins about substitutions…  Getting a recipe that I got from somebody else is like playing a game of telephone. I probably messed it up (but I promise it still tastes good – it just may not taste like the original).
For my purposes, I only make a half batch of the recipe below. This is because I like to get 3 meals or multiple base ingredients for even more meals out of a fryer chicken.
For example, I might do something like this:
Night 1: Roasted chicken, sauteed veggies, and mashed potatoes
Night 2: Curried chicken salad on foccacia
Night 3: Chicken and dumplings (or I just make stock and freeze it. Or I make enchilda sauce.)
Night 4: Take fat skimmed off broth and use it as a base for creamed asparagus on toast.
There is something satisfying about using the whole bird. 
Curried Chicken Salad
1 whole, cooked chicken – shredded
1 red bell pepper – finely diced
1 bunch green onions – finely chopped
3-4 stalks celery, diced
1/2 cup toasted almond slivers
2 cups curry mayonnaise
2 tomatoes, sliced
1 avocado ,sliced
Sprouts (if you are into that – I am, but the grocery store didn’t have any this time.)
This is what I use for the 2 cups curried mayonnaise:
  • 1 cup mayonnaise (homemade if you’re up to it) 
  • ¾ cup sour cream 
  • 3 tablespoons apple cider vinegar 
  • 3 tablespoons mild or medium curry powder 
  • ½ teaspoon ginger 
  • Cinnamon and salt to taste
Simply mix the ingredients minus the tomato and avocado together.  Put on bread, on crackers, or in a pita along with tomato and avocado. Enjoy.

The curry mayo has some real zing, so for the little dude I put together a plate of the ingredients he will eat and mix half mayo/half sour cream as a dipping sauce. Gilbert takes dipping his food seriously.  Yesterday he dipped every single one of his blueberries into his milk before eating them…
At the point that Gilbert’s plate was assembled, he had made off with the camera.  As a compromise for its safe return, I helped him take a photo of his plate too.
Photo by Gilbert

He thought being like mom was pretty cool.  You know… taking a picture of his food before he ate it.

I like it when my little dude thinks I’m awesome.  I’m going to enjoy it while it lasts.

Honey-sweetened, soaked zucchini bread

From the title, you already know what this post is really about, but let’s chat first.
I recently began soaking my flour.  What does that mean?  It means that I combine my flour with an acidic liquid medium and let it sit at room temp for 12 to 24 hours before I bake with it.  As the medium, you can use yogurt, cultured buttermilk, kefir, whey, vinegar, or lemon juice.  I’m sure there are others.  I generally use yogurt or buttermilk.
Why? It comes down to making the flour easier to digest and the nutrients more accessible to absorb.  Soaking breaks down the starches and proteins (gluten included).  It also neutralizes phytic acid, which makes certain minerals more readily available for our bodies to absorb.
I bet you are saying that you have recipes you already love and don’t know how to use soaked flour in them. Right?
That guide has been seriously helpful to me. With a little planning, it is not that hard to do or labor intensive to soak grains. Soaking flour requires a wopping 3 minutes that occurs 12-24 hours before you bake.
I am in the fledgling stages of exploring ways to eat healthier, so in the pursuit of actually making changes that are sustainable and avoiding undue stress, I don’t have a problem with not soaking flour when I forget to plan ahead or I don’t particularly like the results.
Seriously. Give it a try, but don’t stress about it.
Baby steps, my friend. I’m baby steppin’.
Now enough chit chat. Let’s get to the good stuff…. 
The delicious carbs.
If you are thinking this is a sweet, dessert-like bread, you will be disappointed. This is a meat and potatoes kind of quick bread.  I put butter and honey on it and Gilbert gobbled it down like a champ (a little, sticky-handed champ).
As we speak, I am soaking flour for two more batches. I’m going to freeze a couple loaves.
Honey-sweetened, soaked zucchini bread
3 cups whole wheat flour
2 cups buttermilk or plain yogurt
2 cups grated zucchini
3 pastured eggs
3/4 cup honey
1/4 cup melted butter (or coconut oil)
2 tsp baking soda
2 tsp vanilla
4 tsp cinnamon
1 tsp salt
12-24 hours before you make the bread, combine the flour and the buttermilk or yogurt.  Mix and cover with a plate.  Let it sit at room temperature up to 24 hours.
1 hour before you make the bread, grate the zucchini and mix it with the salt.  Let it sit for about an hour.  By the end of the hour, you will see water has pooled at the bottom of the bowl.  
Strain out the water and pat the zucchini dry.  Turn the oven on to 350.
Add the rest of the ingredients (aka the zucchini, eggs, butter, honey, cinnamon, vanilla, and baking soda) to the bowl with your soaked flour.
Mix until you have a nice batter.  Pour into a greased bread pan (9×4).  Place in oven and bake for 1 1/2 hours, until toothpick comes out clean.
Once it has cooled for a few minutes, I recommend taking it out of the pan to finish cooling.
 
Doesn’t that look good?  Fresh out of the oven and still warm.  I put butter and peach and honey jam on it.
There is a small chance I ate half the loaf by myself…  
I promise I will be good and freeze the next two loaves.

Peach and Honey Jam

You probably read the title of this post and thought “making jam again? Gosh. This girl makes a ton of jam.” If you thought that, you would be right. I do make a lot of jam.
We eat our fair share of jam, but we definitely do not consume all of it.  I have found that jams make wonderful gifts. Giving jam = Lindsay expressing gratitude.
I like to give jam all the time.
You came over to my house? Here… have some jam.
You cooked me dinner? Here… have some jam.
I just like you? Here… have some jam.
I try to make jams that can’t be easily found in grocery stores. This Peach and Honey Jam is one of those.
Because this jam does not have granulated sugar in it, it will not last open in the fridge for weeks on end. With how good this is, I don’t think that will be a problem. But just be aware of the shelf life and after you open a jar or thaw a freezer batch, try to finish it in a week or two.
My biggest tip for this jam is to make sure to use real honey.  This sounds like an obvious tip, but it turns out that what is in the little bear that we all know and love is not always actually honey.  It is so filtered that it contains no pollen, which is required to be considered honey.  Weird, right?  
Getting to the real stuff is easy enough.  Most stores carry a local brand.  This jam turns out wonderfully if you use dark or light honey.  If you peaches aren’t very ripe, use a little extra honey to cut down on the tartness of the peaches.
 Peach and Honey Jam
Yields 6 half pints.
7 cups roughly pureed peaches (or finely chopped)
6 tsp lemon juice
1 cup honey
6 tablespoons classic pectin (one box)
1 tsp cinnamon (optional)
Blanch and peel your peaches. If you don’t know how to blanch, there are excellent instructions here.
Finely chop your peaches by hand or in a food processor. Personally I prefer the food processor. It’s faster.
Pour peaches into the pan and add lemon juice.
  Pour in honey and bring to boil.

Once boiling, add in pectin gradually. Boil for 5 minutes, stirring constantly.
Now you can either put them in freezer containers (allowing them to set at room temp for up to 2 hours before putting the lid on and putting into the freezer) or put them in sterile jars and process in a water bath for 10 minutes.

Once it has set, spread it onto some toast or an english muffin and ENJOY!!!