Potential

I like the word potential.  I like the idea of potential.

In everything I do, I look for potential: the potential for growth, the potential for change, the potential for improvement, the potential for fun, the potential for learning, the potential for joy.

\ (this slash was brought to you by Charlie’s foot.  I couldn’t bring myself to delete his first typed character.  It’s a weird mommy thing.  Just roll with it)

Constantly embracing potential means my life is always in a bit of chaos.

I am always working on some kind of home improvement project.  Move in ready is just not my style.

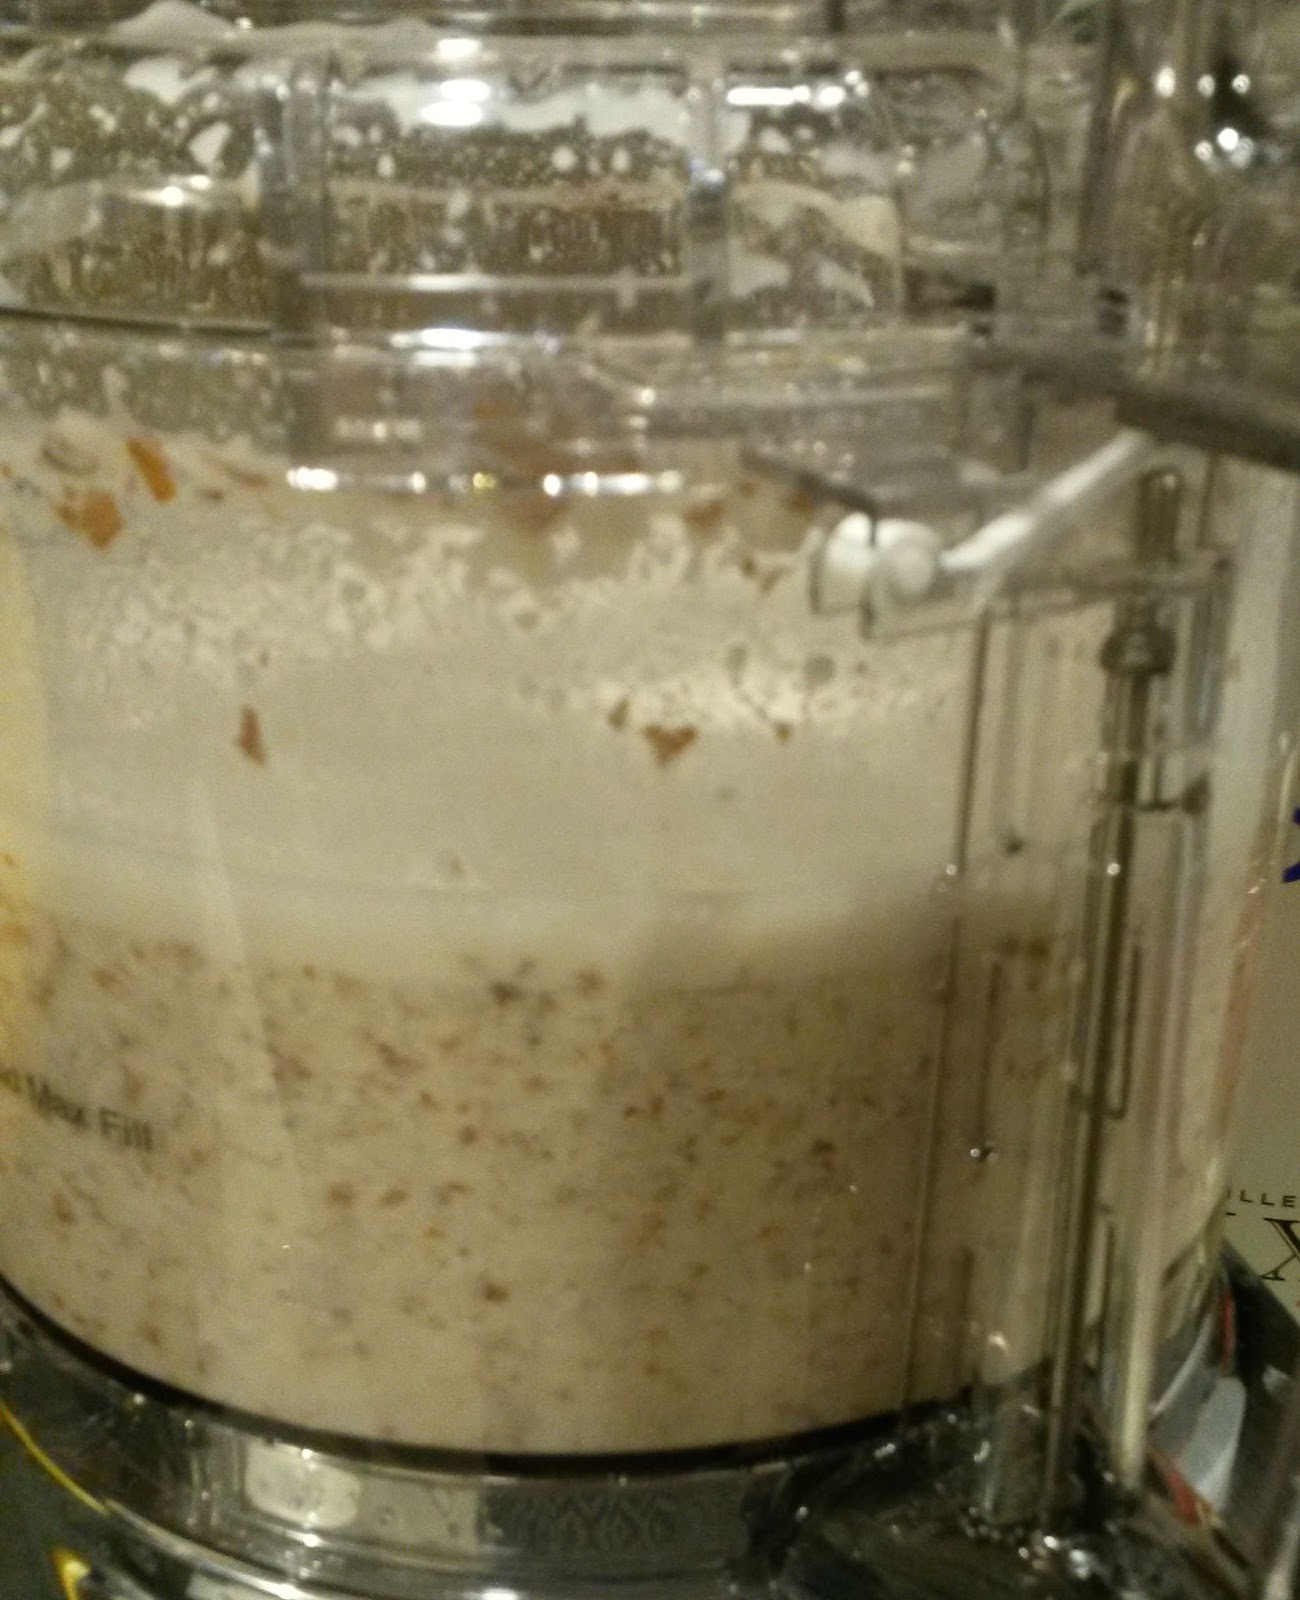
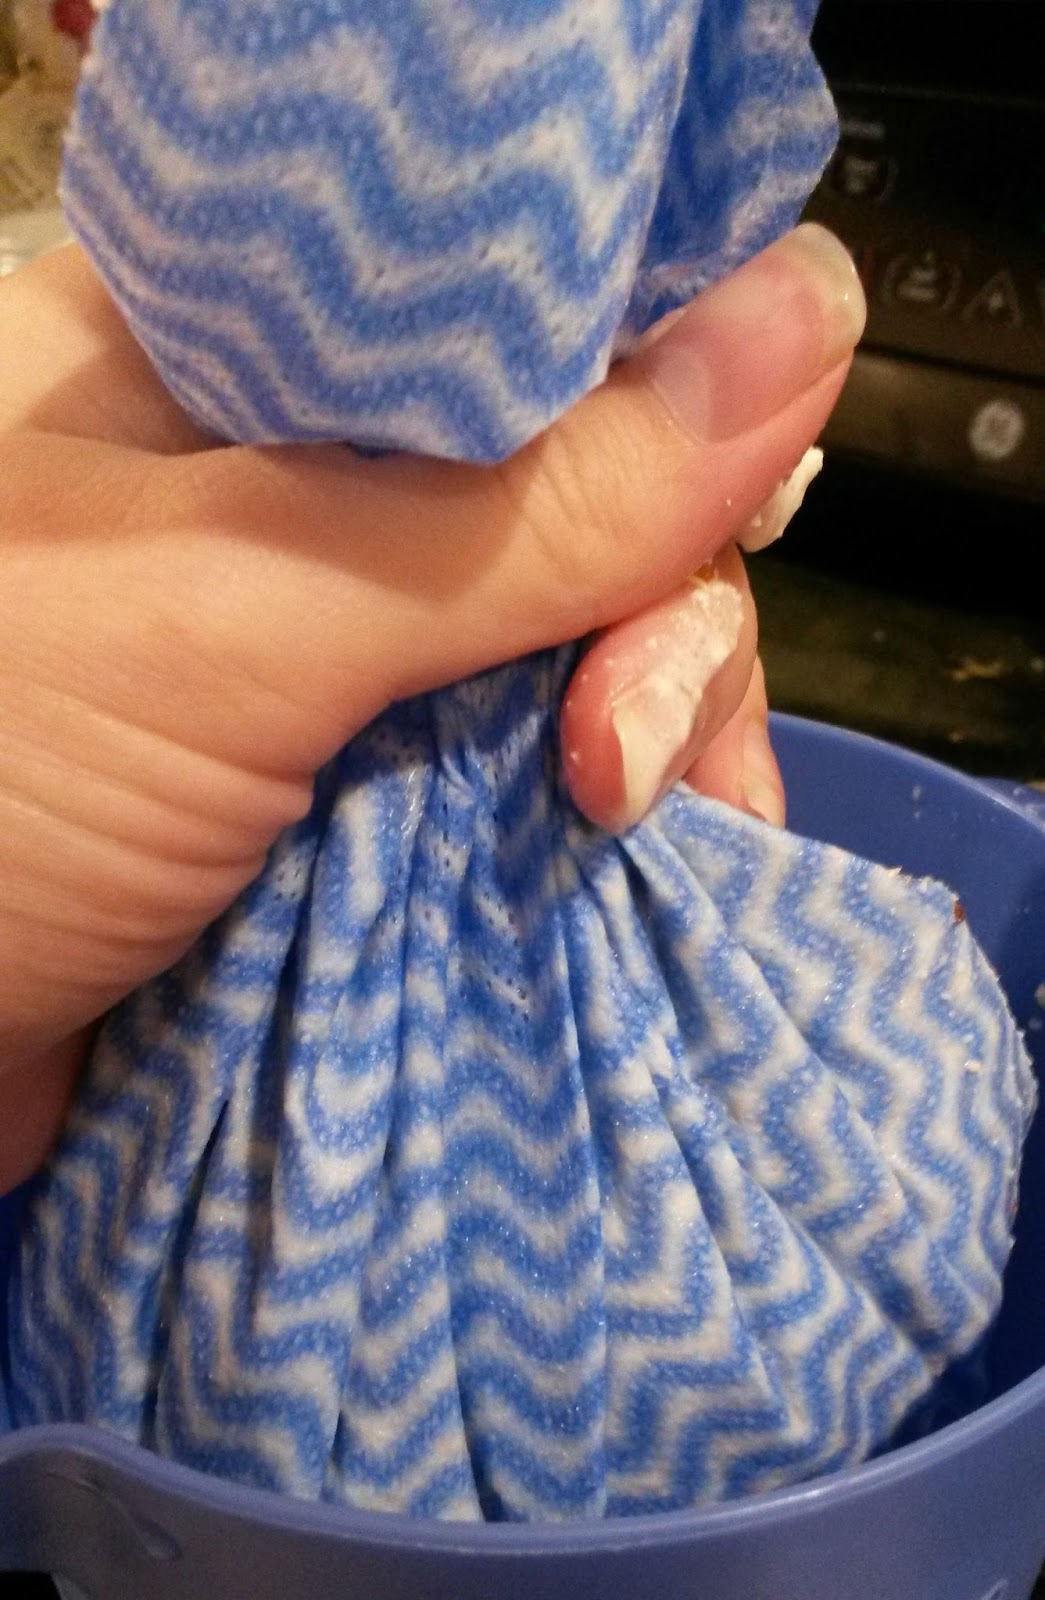
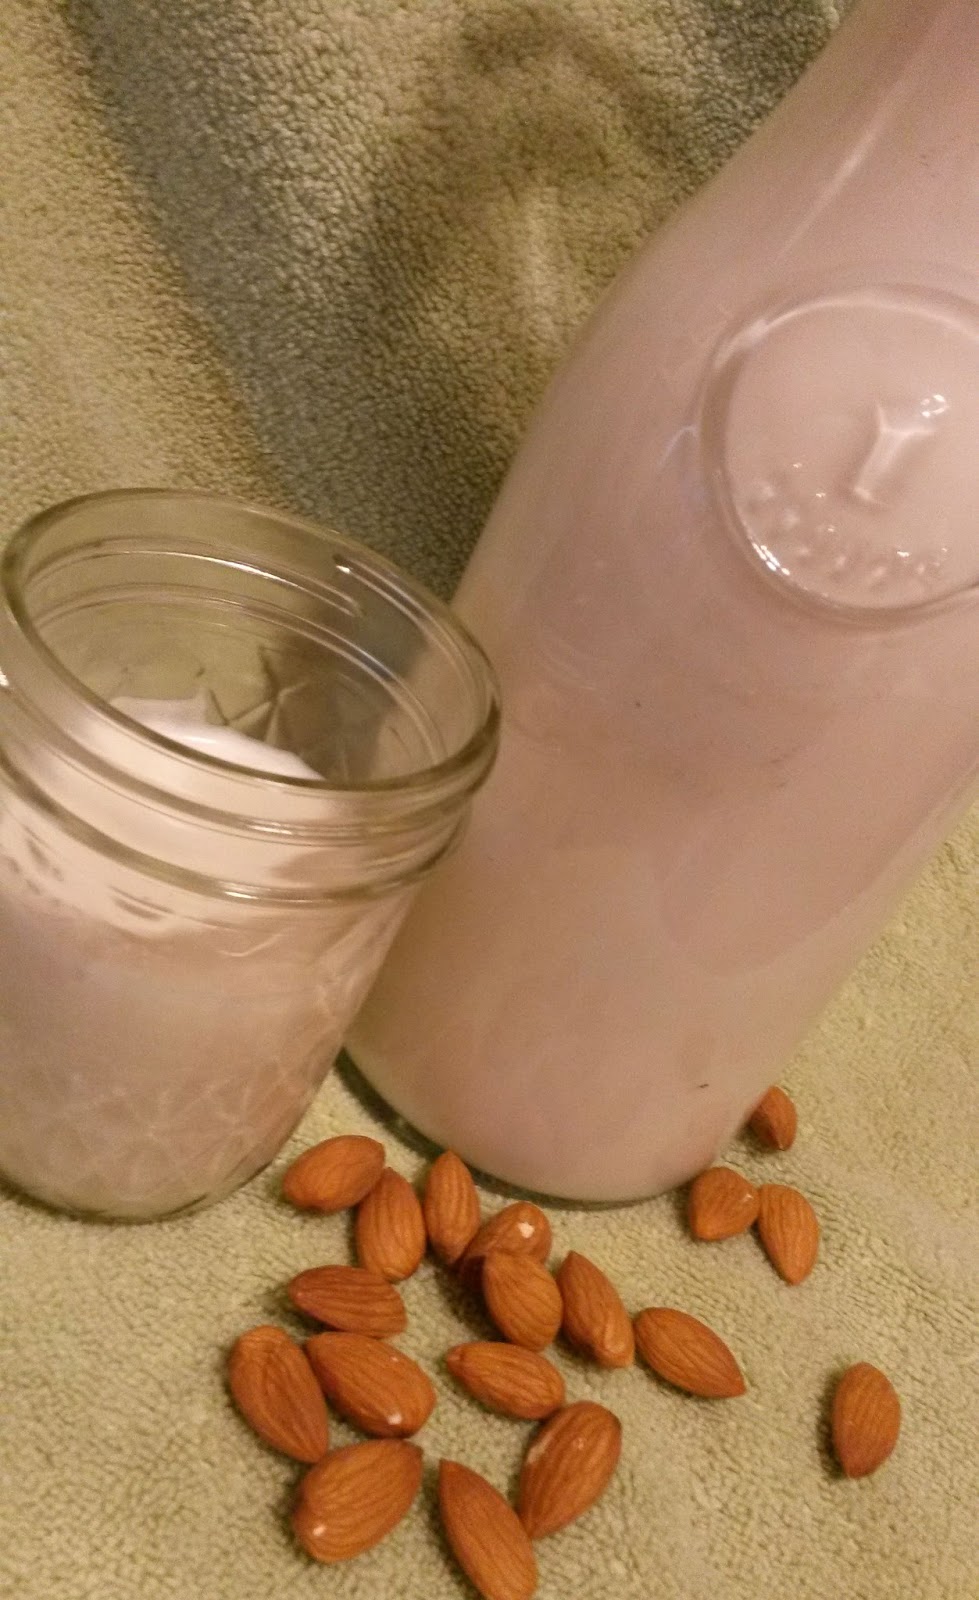
There is always something cooking, freezing, or waiting to be preserved.

Here’s yesterday’s project.  Roasted peppers (put them in hummus, use them to spice up Butternut Squash soup, or add a few into a salsa recipe to add some heat).

My house is never completely clean (but it could potentially be clean someday!  HA.)

I love life that way.

We bought our house last November knowing it was full of POTENTIAL.  And every day we discover more potential and sometimes even realize some of that potential.

Last month, we finally removed the wreath the previous owners left to reveal:

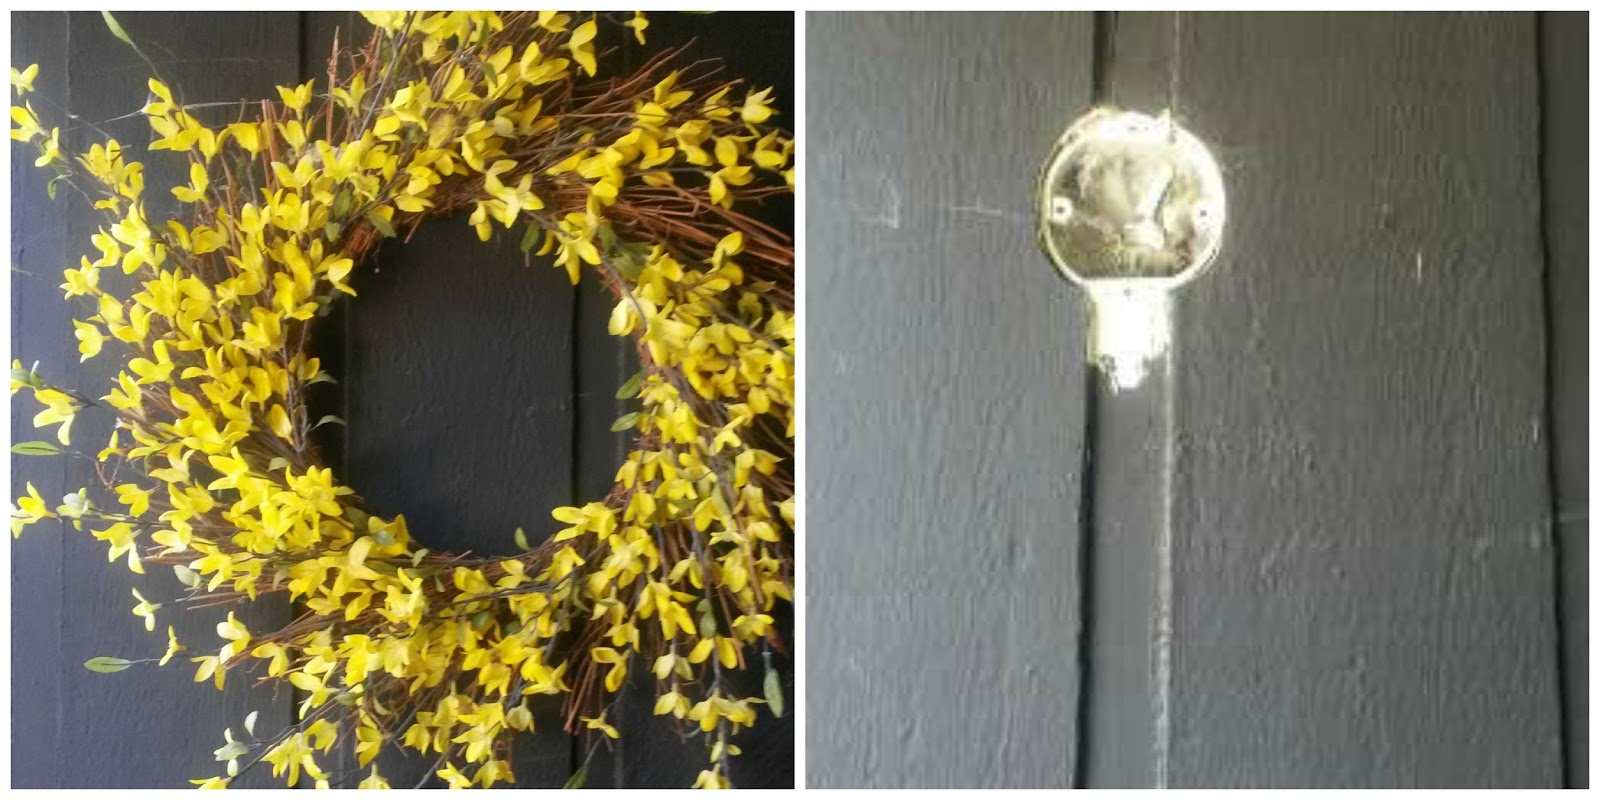
Yep.  That’s a hole where a porch light should be.  (Somebody’s real estate agent earned their commission with how well this house was staged!)

But we fixed that now:

We started with an overgrown yard.  Full of debris.  This prompted the makeshift garden.  I was surprised how many beans, tomatoes, strawberries, lettuce, and beyond can be grown in a few buckets from the Dollar Store:

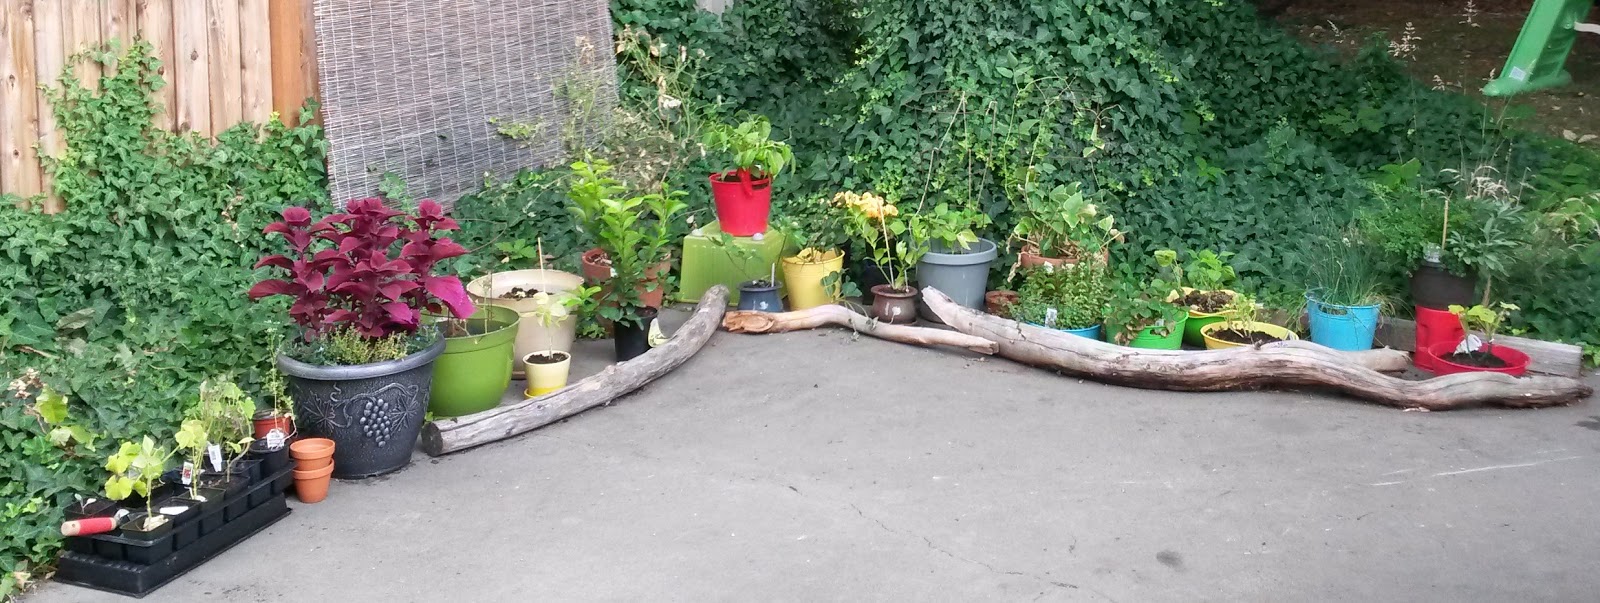
But now a lot of the debris has been hauled away and the overgrown shrubs and bushes removed.

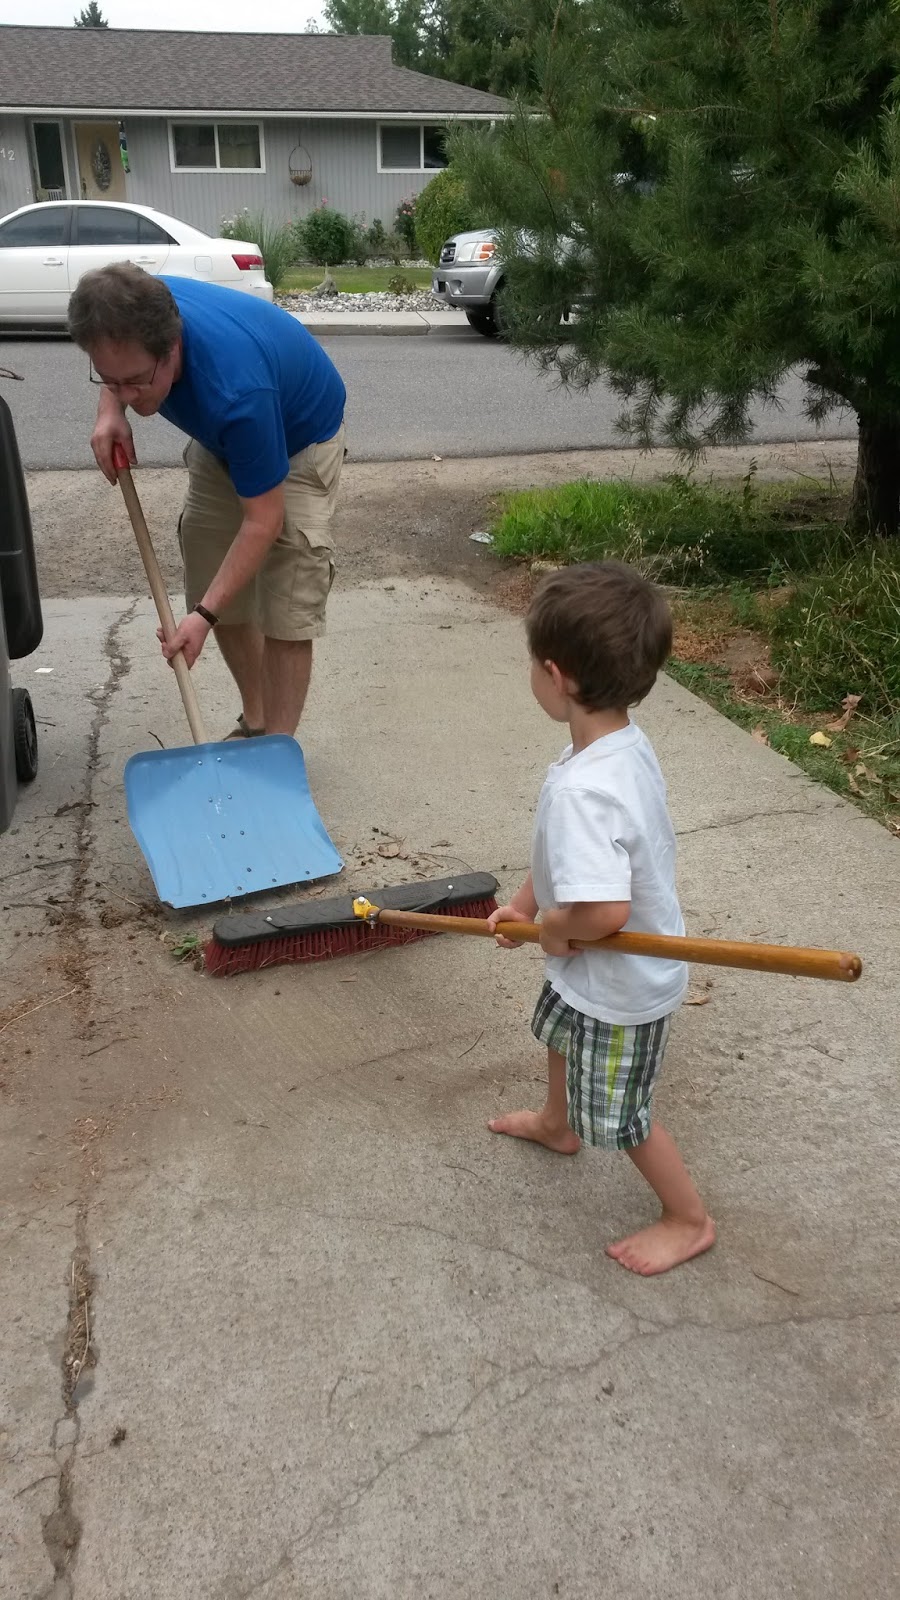
Everybody helps with clean up!

Which uncovered… you guessed it… MORE POTENTIAL.  Next summer we will be able to have a big, glorious in ground garden.

We will have built the new chicken coop.

And rehabed the man made pond for Charlotte the duck to enjoy.

And the kid’s rooms will be painted, organized, and looking more homey.

And I will sprout all my seeds at the right time for optimal growth (a girl can dream).

And maybe my house will be clean (doubtful).

And maybe all the laundry will be folded (when pigs fly).

After typing this, I’m starting to think my love of potential is a disease… Somebody help me please.

Butternut Squash Soup with a side of denial

I’m over summer.  Mostly I’m over forest fires.  For those who follow the news, you have properly heard that large parts of Eastern Washington are on fire.

The air quality is horrible.  I know people whose homes have burned.  Livestock lost.  Several firefighters dead.  The only good thing that has come out of this is that I am reminded of just what an awesome community we live in.  So many people helping out and stepping up to help families replace what has been lost.  I’m thankful for that.

But that doesn’t make the sun less relentless or the air more breathable.  So I am turning up my air conditioner and living in denial that it is still summer.  I want Fall!

I’m diffusing clove and cinnamon oil, creating the illusion of holiday baking (with none of the dishes or calories.  Booya!)

We are shucking corn.

And for dinner, I’m having Butternut Squash Soup.

Normally squash soups are a fall and winter sort of thing.  But like I said, I’m living in denial.

My sister passed this recipe to me and I am passing it to you.  This soup is so rich and creamy, I didn’t even realize that there is no cream the first time it was made for me.

Butternut Squash Soup

Picture from Inspiring the Everyday.
My picture was abysmal.
Their soup has curry powder.
You should check it out!

You will need:
5 medium carrots
2 large ribs of celery
1 large butternut squash
1 sweet potato
1 russet potato
1 orange (juiced)
½ cup sauvignon blanc (or really any white wine, optional)
8 cups of chicken stock (homemade is my favorite!)
3 sprigs of thyme (or 1 tsp dry)
2 bay leaves

Sweat 5 diced carrots and 2 diced celery ribs in butter with salt/pepper, bay leaves, and thyme for 5-10 minutes.

Add peeled and diced butternut squash, sweet and russet potatoes.  Try for 1 inch cubes, but really the smaller you cut them, the faster they cook.   Cook for 5 minutes.

Squeeze in juice from orange and add wine (don’t skip the wine!  It adds FANTASTIC flavor.  Also, pour yourself a glass).

Let reduce for several minutes and then add chicken stock.

Simmer for 30-40 minutes.  Remove bay leaves.

Puree with stick blender or, if you are into chunky soup, go crazy with the potato masher.

Personally, I like it smooth and creamy.  Best served with Bruschetta.

And wine.  Always wine.

Enjoy!

Organic Almond Milk

Most brands of store bought almond milk contain very little almond and plenty of thickeners.  Plus, it can be expensive.  Fortunately, with minimal prep and time you can make homemade almond milk.
This recipe will result in thick almond milk.  It is more the consistency of whole milk than non-fat milk.  It is also a larger recipe since we use almond milk regularly.  I have seen recipes that use less almonds, like this one and some that add vanilla and are thicker, like this one.
I like mine to start out unsweetened and plain.

Organic Almond Milk

You will need:
3 cups organic raw almonds
6 cups water (plus water for soaking)
Pinch of salt
Step 1: Soak the almonds in 6 cups of water at room temperature for 12 – 24 hours.  

I just soak them the night before and make the almond milk the next day.
Step 2: Drain and rinse soaked almonds.
Step 3: Blend nuts, 6 cups water, and a pinch of salt in blender or large food processor. 
I do this in two rounds since it puffs up a bit when blended and I would rather not be concerned about overflow.  Also, I don’t own a blender and food processors have a low fill line.  Someday sweet Vitamix, you will be mine.
You may notice I play a little fast and loose with the max fill liquid line…
Step 4: Place a flour sack dishtowel, cheese cloth, or nut bag (no really… there is such a thing as a nut bag) over the top of your pitcher and pour the blended mixture in  (Personally, I just buy the reusable paper towels from the dollar store… I’m classy).
Step 5: Twist the top of your cloth and squeeze out the liquid.  
Set the pulp aside for use with other recipes.  Did you know you can use the left over nuts in muffins, smoothies, or this Lemon Bar Nut Crust?   Just make the honey sweetened lemon bars with the nut crust.  You will not regret it.
Repeat this process until you have milked all the nuts.  (And now I’m giggling).
And now, Enjoy!  Put this in your coffee, use as a substitute for whole milk in recipes, add some of my Homemade Chocolate Syrup and a shot of coffee for a seriously delicious non-dairy mocha.

Washing your face with oil

As I’m writing, I can hear Gilbert down the hall talking to himself as he tries to nap.  He has been fighting the naps lately, but *I’m* not ready to give them up just yet.  He is pretty sure he is 3 going on “forty seventy teen” as he likes to tell me.  He feels like too big of a boy to be taking naps (he tells me through teary eyes, when I try to put him down).

Does he look “forty seventy teen” to you?  I think not.

Charlie is laying on his play mat, wiggling around, alternating between trying to snack on his toes and talking to his toy duck.  He still mostly stays where I put him, but we all know that won’t last much longer.

Whatever he is saying to the duck is serious.

It is very easy with all the commotion of two small children and the new routine of working in the morning to forget the basics.  I have to actually ask myself… have you brushed your teeth?  hair?  Put on deodorant? Clean clothes? Showered recently?

The good news is the answer to those questions is mostly yes.  But feeling good during the first 6 months post pregnancy is hard for me.    Aside from not being one of those mothers who is able to slim down quickly after pregnancy, I am also not the mother who has super elastic, clear, well hydrated skin post-pregnancy.

I gotta say here that I have nothing but love for those quick-slimming, flawless skinned mamas out there…  Rock on!  Maybe if I go for a third, I will join your ranks 😉

My skin goes on a roller coaster of blemishes and dryness.  So today, I want to share with you all one thing that makes me feel AMAZING.  I love it because it’s quick and it doesn’t involve anything horribly expensive (and I have tried some pricey face cleansers and moisturizers that don’t work nearly as well).  It doesn’t make my skin perfect, but it does make it feel softer and minimizes blemishes.

How to Oil Cleanse

You will need: a clean wash cloth and your preferred cleansing oil.  Personally, I prefer straight sweet almond oil (you can order it here), but I know some people prefer coconut oil, olive oil, castor oil, or even a blend.
1. In the shower or at the sink, place a quarter size worth of your oil into your hand.
2. Massage over entire face with your hand, making small circles.
3. Wet wash cloth with very hot water, wring out excess, open the washcloth, and place over your face.
4.  Leave the cloth on for at least a minute Seriously.  Enjoy.  It feels wonderful.  If your kiddos aren’t yelling for you or trying to pick the lock on the bathroom door, feel free to leave it on until it cools.

5.  Use the corners of the washcloth to gently wipe any excess oil off your face.  No need to really scrub.  It’s okay for there to be a little left on.

And that’s it.  You can try this for little to no money especially if you use oils you already have on hand like coconut or olive oil.

Happy Cleansing!